Create Name Change
After signing in successfully, Navigate to My Requests > Create Request.
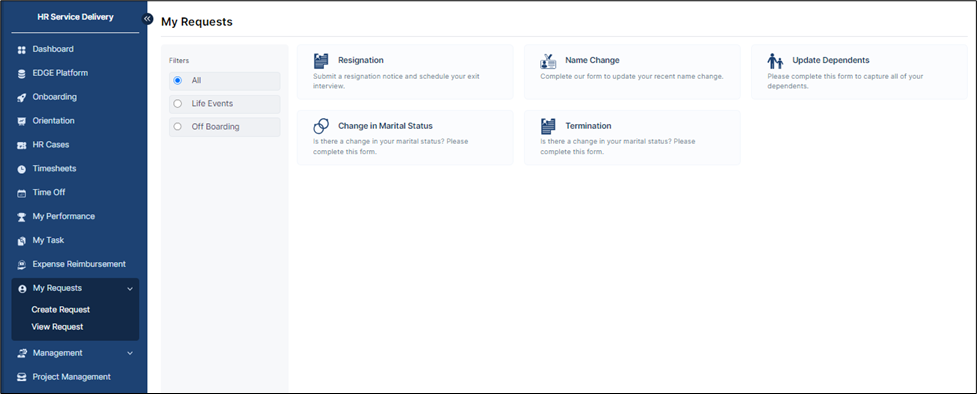
you will see various life events. Click on the option for "Name Change".
On the "Name Change" page, you will see your current first name, middle name, and last name populated from the system. Fill in the requested changes for the current first name, middle name, and last name in the corresponding fields. Click on the "Submit" button to initiate the name change request.
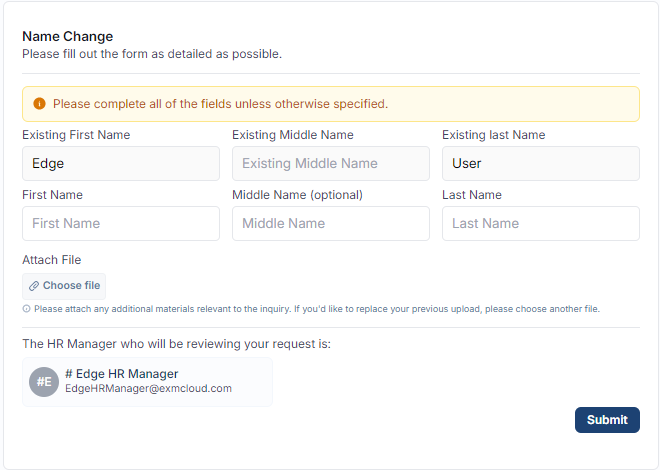
Ensure that the First Name, Last Name, and Attachment fields are completed as they are mandatory to submit the request.
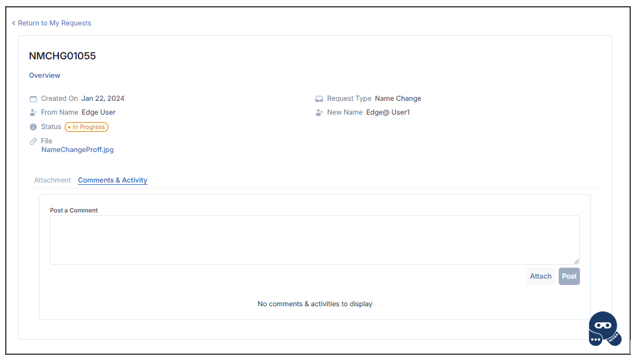
After submission, the system will automatically redirect you to the request view page where users can track and review their submitted name change.

Click on the request to open its detailed view. The detailed view will display all information related to the submitted request.
Attachments Tab: Check this tab to view all attached documents related to the request that are added in the "Comments/Activity" tab.
Comments/Activity Tab: Under the "Comments/Activity" tab, users can add comments regarding the request. Attach additional files related to the request within the same tab.
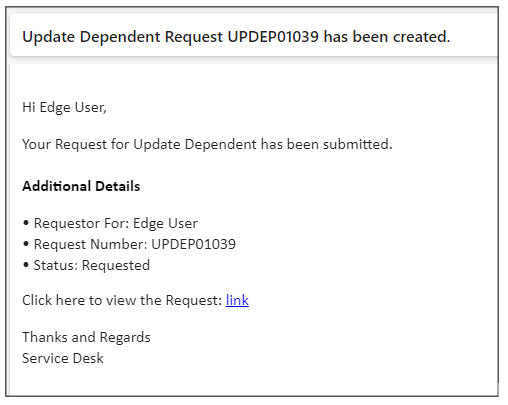
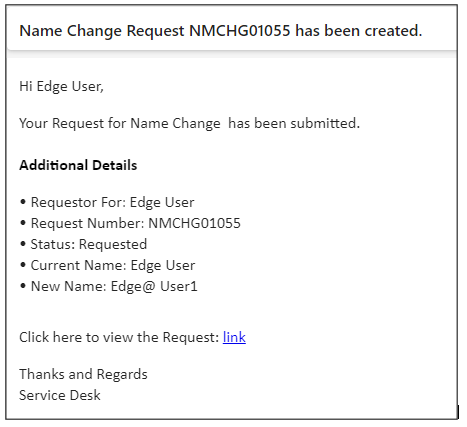
Notification will be sent to the requestor confirming the submission of the name change request.
Change In Marital Status
Navigate to My Requests > Create Request.
Click on the option for "Change in Marital Status". The page will open, displaying options for updating marital status. The system will automatically populate your current marital status from the system.
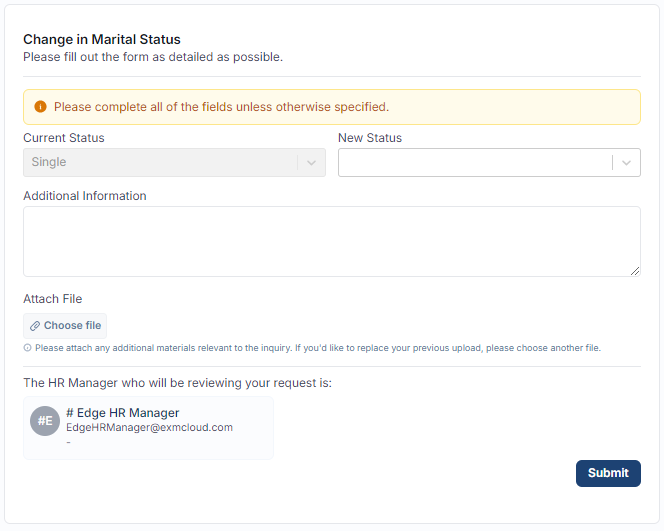
Ensure that the New Status, Additional Information and Attachment fields are included as they are mandatory to submit the request.
Click on the "Submit" button to initiate the marital status change request.

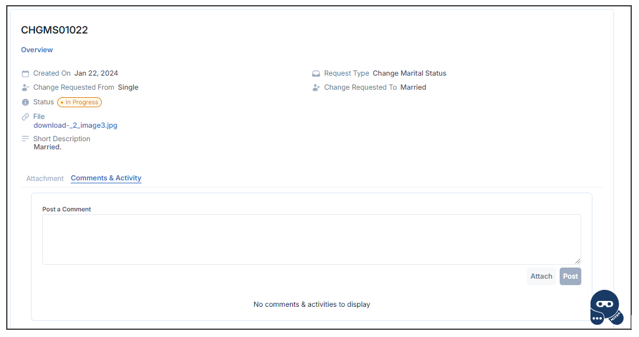
Click on the request to open its detailed view. The detailed view will display all information related to the submitted request.
Attachments Tab: Check this tab to view all attached documents related to the request that are added in the "Comments/Activity" tab.
Comments/Activity Tab: Under the "Comments/Activity" tab, users can add comments regarding the request. Attach additional files related to the request within the same tab.
Upon submission, a notification will be sent to the requestor

Update Dependents
Navigate to My Requests > Create Request.
Click on the option for "Update Dependents". The page will open, displaying options for updating dependents(Add new dependents, update existing ones, or delete dependents as needed).The system will automatically populate your current dependents from the existing records..
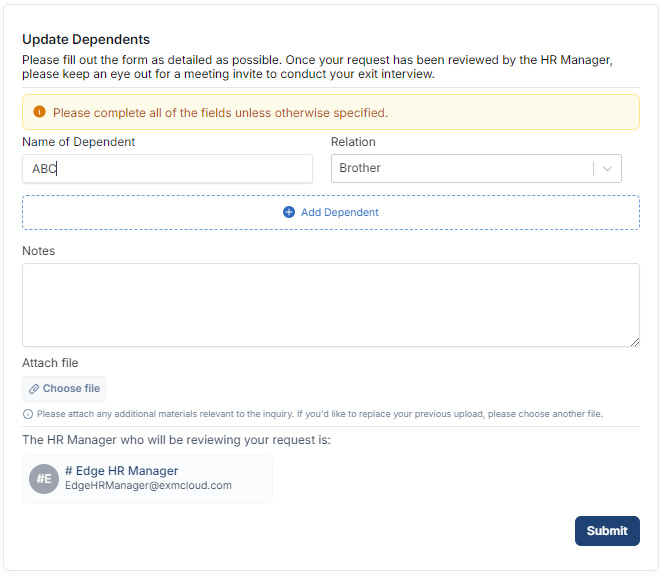
Ensure that attachment and Notes are mandatory for the change in dependent information.
Review the details to ensure that the dependent information and attachment fields are completed. Click on the "Submit" button to initiate the dependent update request.

Click on the request to open its detailed view. The detailed view will display all information related to the submitted request.
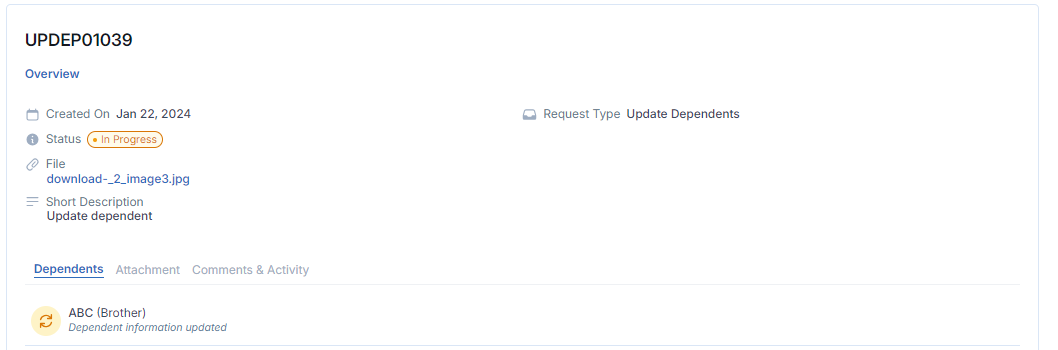
Dependents: This tab specifically displays information related to any changes in dependent.
Attachments Tab: Check this tab to view all attached documents related to the request that are added in the "Comments/Activity" tab.
Comments/Activity Tab: Under the "Comments/Activity" tab, users can add comments regarding the request. Attach additional files related to the request within the same tab.
Upon submission, a notification will be sent to the requestor.