Create Incident
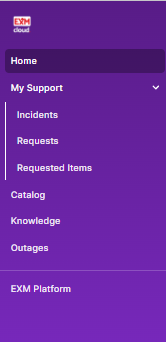
After signing in successfully, navigate to My Support > Incident > Create Incident

The below form will open on the screen for the user to create an incident.
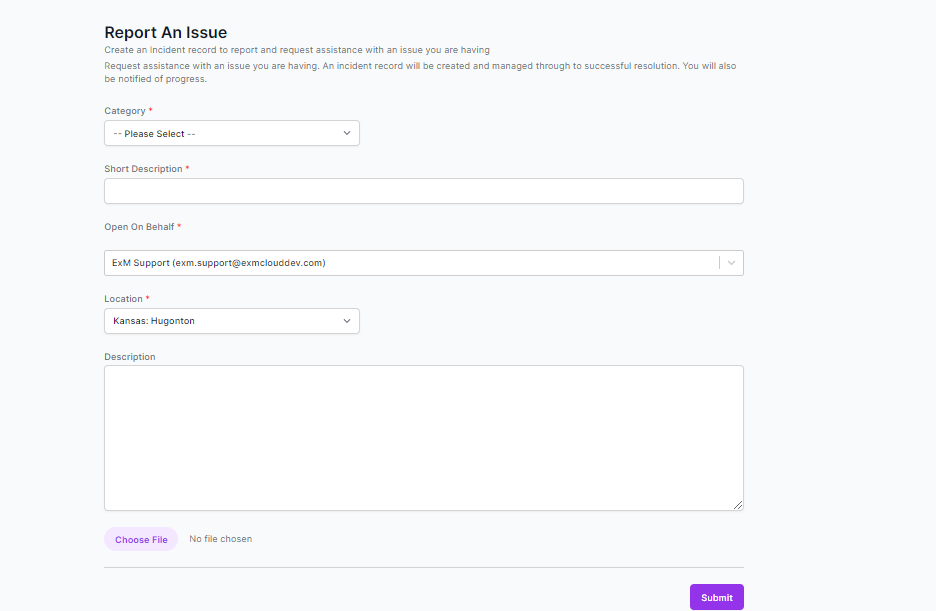
On the form, the user needs to fill in the below fields:
Field | Description |
|---|---|
Category | Type of issue. |
Short Description | Brief Description of the Incident |
Description | Detailed explanation of the Incident |
Attachment | Add files related to the Incident |
Open On Behalf | Person reporting the Incident. |
Location | Location of the current user. |
The Category, Open on Behalf, Location and Short Description fields are mandatory however the user can provide Description, attach any document, or image file while creating the incident.
After the Create Incident form is filled, click on the “Submit” button.
On successful submission, user will be redirected to the submit successful screen where Incident Number generated for the incident is shown to the user along with the details entered by the user like Short Description, Description, Category, Created Date and Time and the State of the incident.
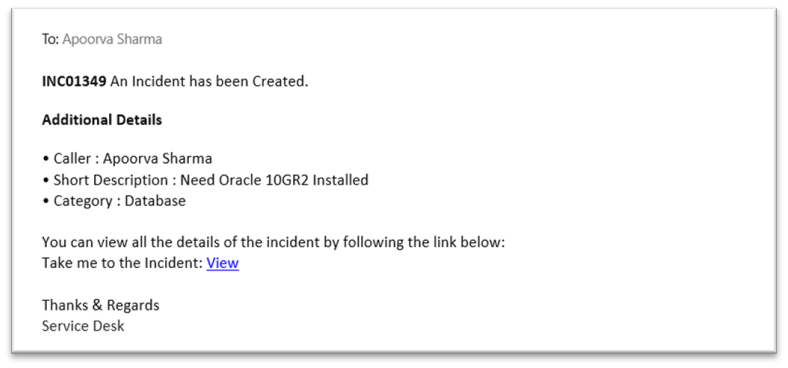
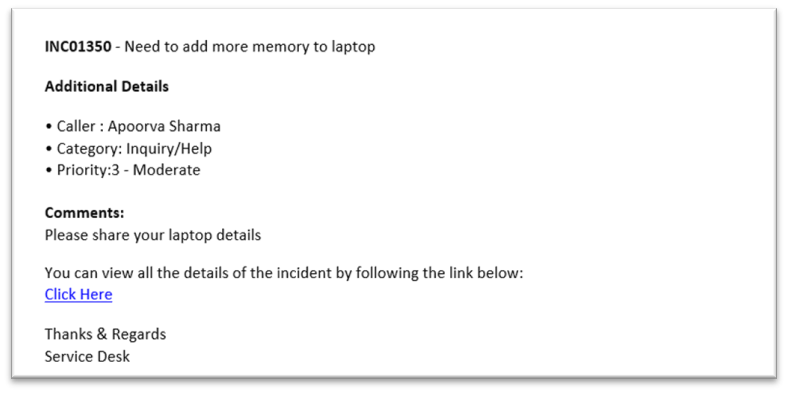
An Email notification will be sent to the user with the details and link to the Incident once the ticket is created.
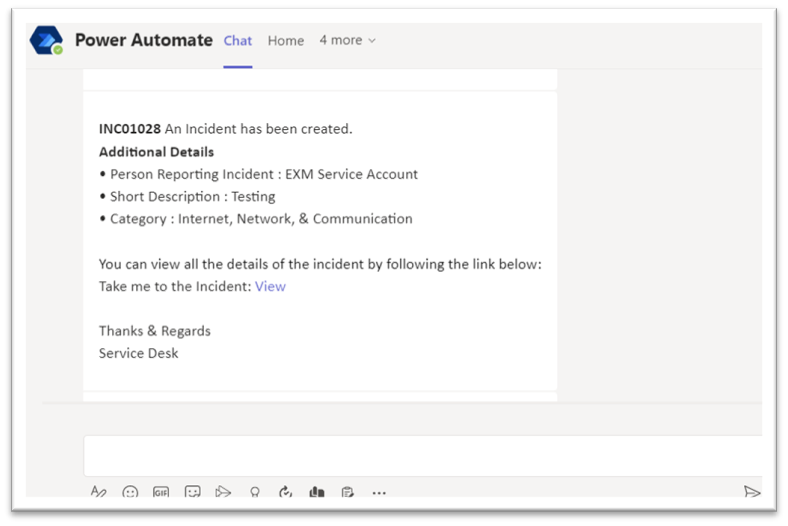
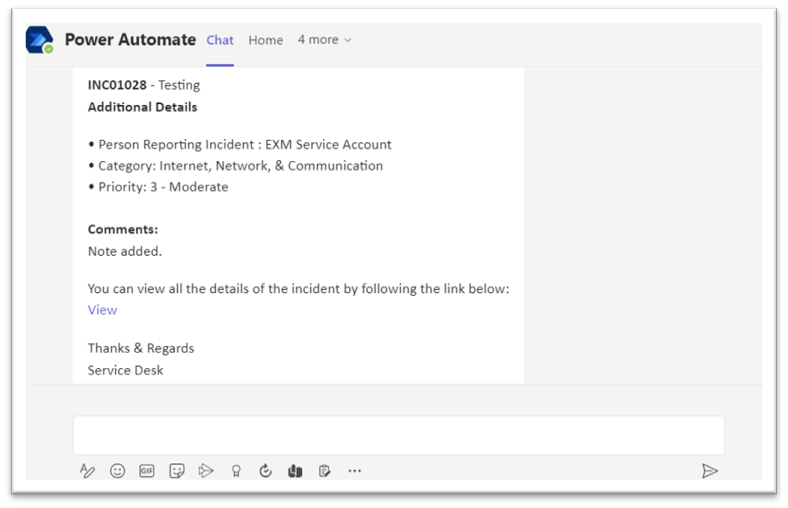
Microsoft Teams notification will be sent to the user with the details and link to the Incident once the ticket is created.
Track Incident
To view all incidents submitted by the user and to track the incidents the user needs to navigate to My Support > Incident > My Incidents from the portal.
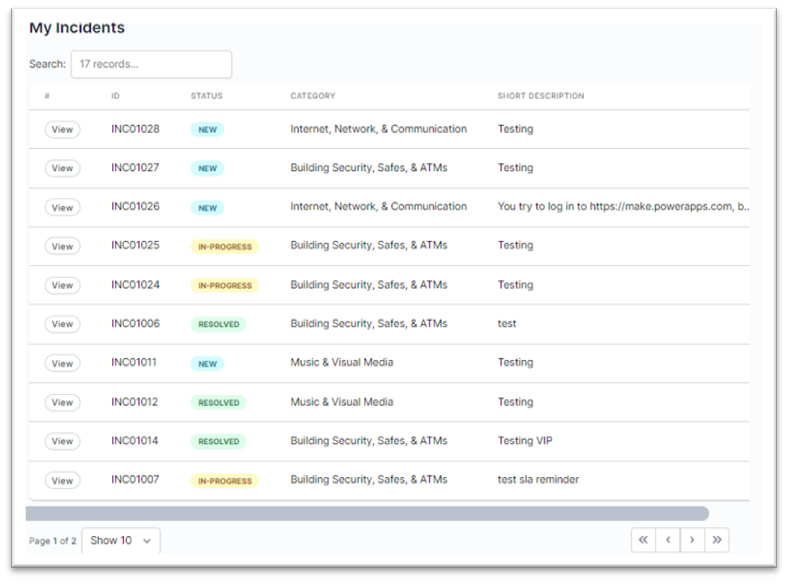
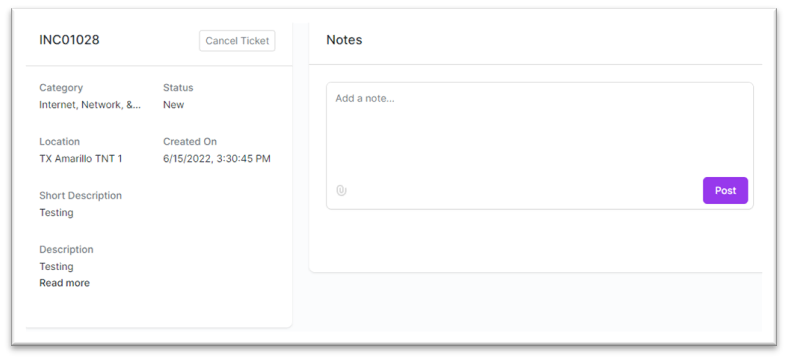
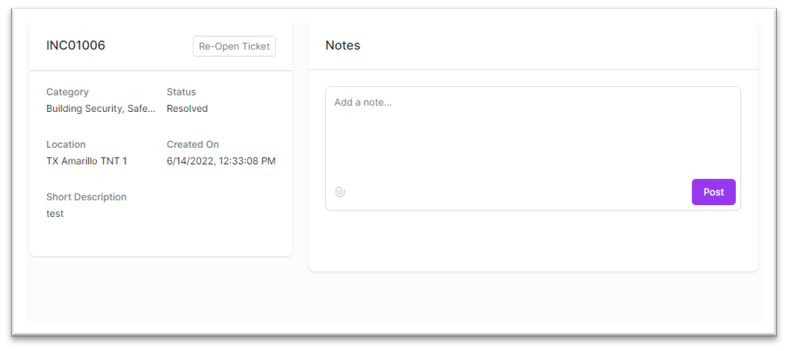
Click on the View button to track the Incident.

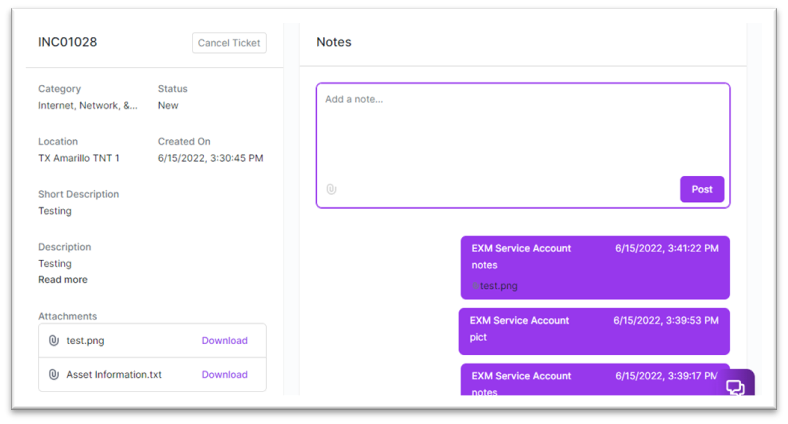
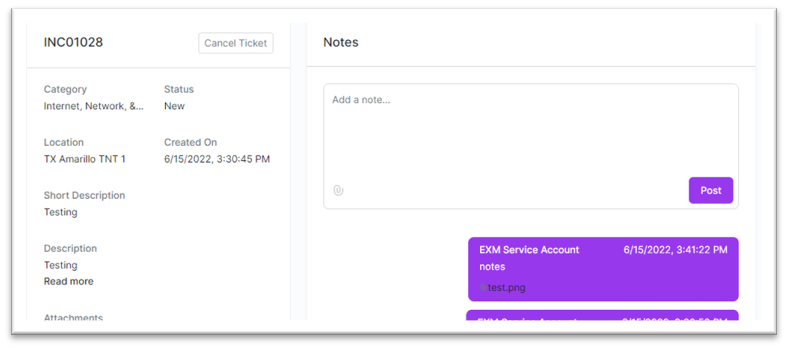
Users can provide any additional details or communicate with the fulfillers, add notes and attachments (if required) in the Notes section from this screen.
All the Attachments will be shown in the Attachments section along with the Created By and Created On details.
On addition of new notes, Email notifications will be sent out to the user
Microsoft Teams notification will also be sent out to the user.
Resolved Incident
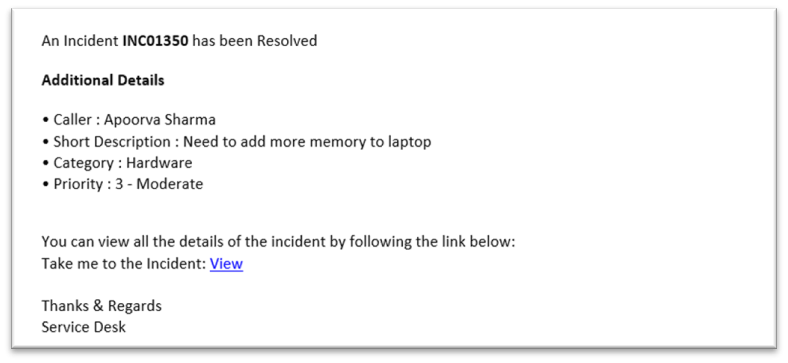
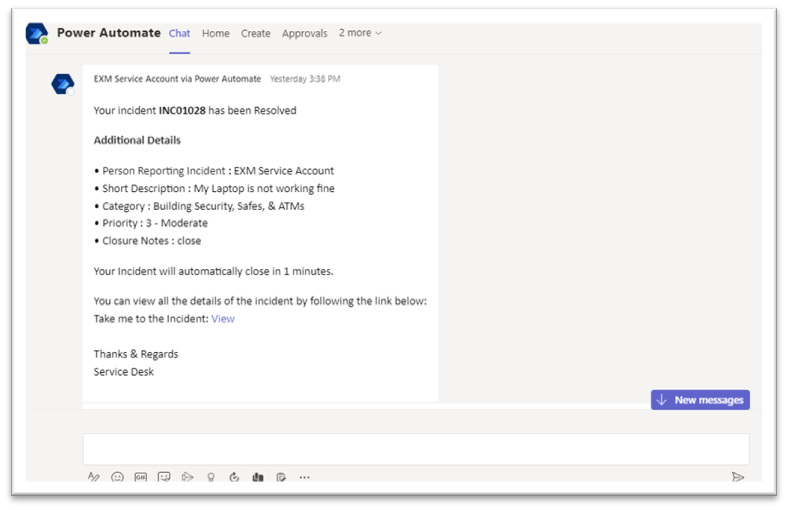
Once the issue is resolved from the fulfillers’ end, the status will be updated to Resolved.
The user will be notified by an Email and Microsoft Teams Notification.
Closed Incident
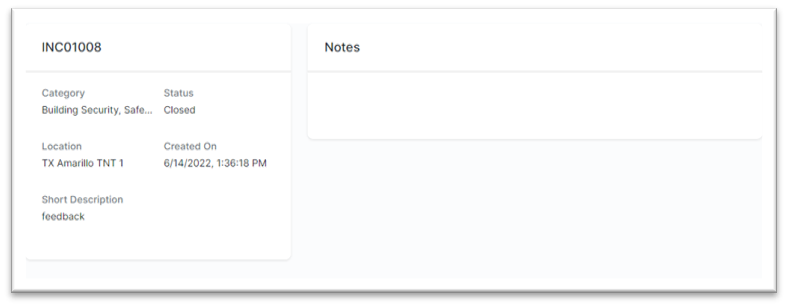
Once the incident is Resolved and the user is satisfied with the resolution provided, the Incident will be Closed after a fixed interval of time as shown in the screen shot below.
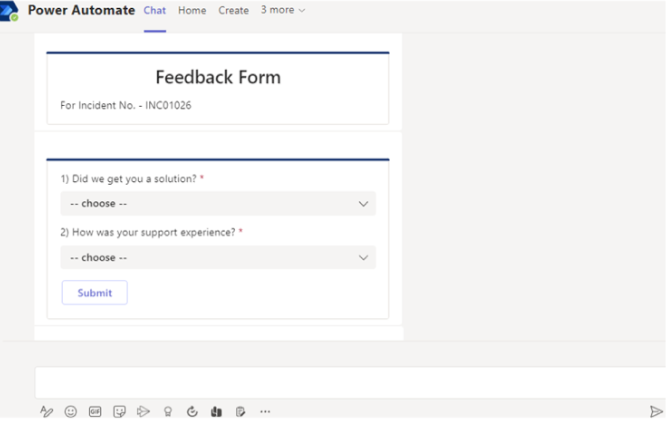
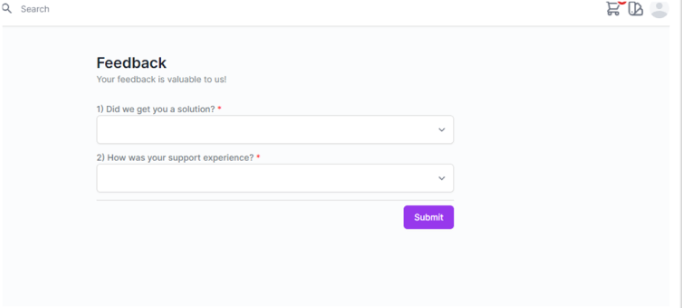
Once the incident in Closed, a feedback link is sent to the user by email notification.

The feedback form can be filled from the portal or MS Teams.
Re-Open Incident
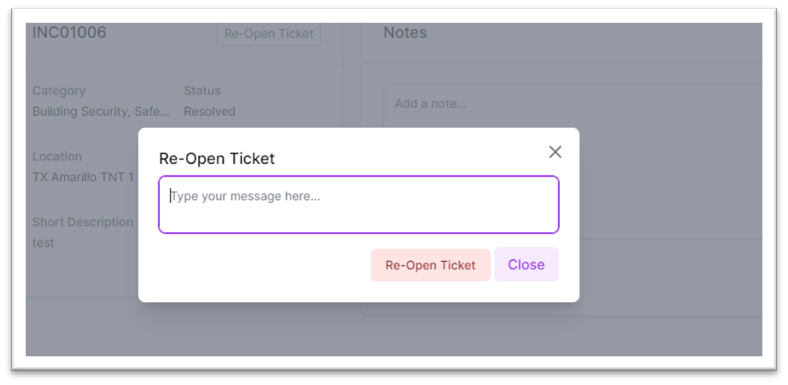
If the user is not satisfied with the resolution provided, the ticket can be reopened from the portal within a fixed time interval by clicking on the Re-Open button.

A pop-up will appear on clicking the Reopen button. Provide the reason for Re-Opening the incident and click on Re-Open Ticket button.
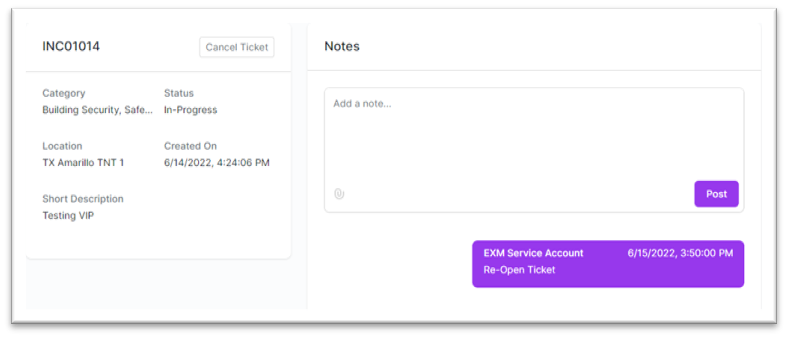
On Re-opening, the status changes to In-Progress and a note is added in the Activity section.
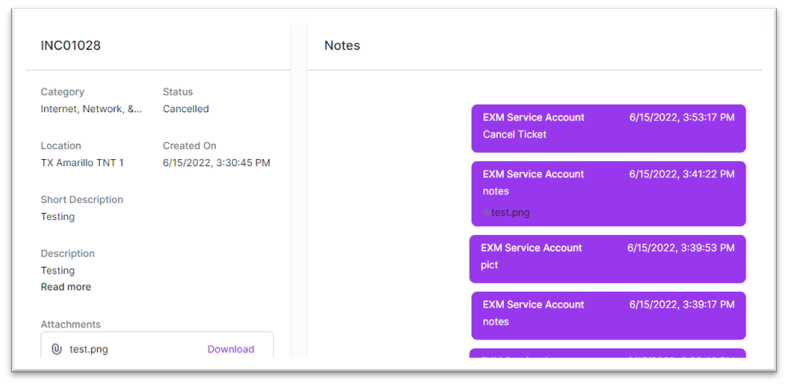
Cancel Incident
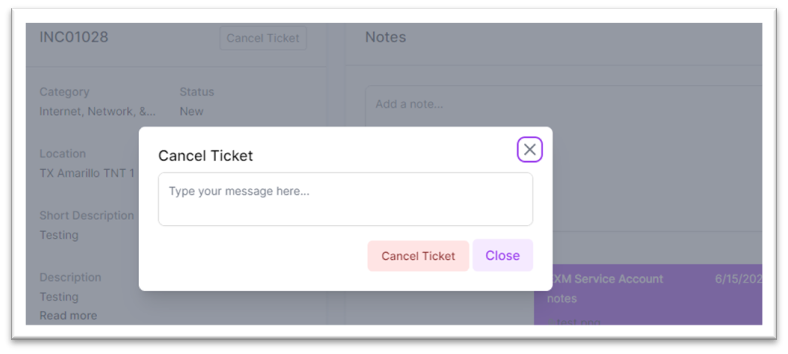
If the user does not want assistance on the created Incident anymore, the ticket can be canceled by clicking on the Cancel Ticket button.
A pop-up will appear on clicking the “Cancel Ticket” button. User needs to provide the reason for Canceling the incident and click on “Cancel Ticket” button.
On Canceling, the status changes to Canceled and a note is added in the Activity section.