Once SLAs are configured, they need to be attached to relevant service modules, such as incidents, problems, requests, or changes. We will demonstrate how SLAs are linked to service modules based on predefined criteria, ensuring that the appropriate SLAs are applied to each respective module request.
Example: To demonstrate the SLA process, let's start by creating an incident and observing how SLAs are automatically attached. Follow the steps below:
Create Incident
- Navigate to Incident Management > Incident > New. Create a new incident with priority "1 - Critical" and fill the necessary details. Upon submission, the system will automatically link the appropriate SLAs to the incident based on predefined configuration.

- To verify that the SLAs are attached, go to the incident details page. Look for a tab labeled "SLA Tasks" where you'll find the associated SLAs listed.
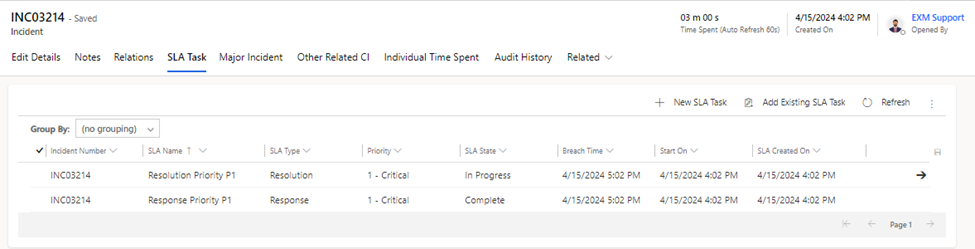
When an incident is created, the SLAs are automatically linked based on the configurations stored in the table. Specifically, both response and resolution SLAs are associated with the incident. The response SLA is considered fulfilled once the incident is assigned to the respective group or individual for handling. Conversely, the resolution SLA is marked as complete when the incident status is updated to closed. If the incident fails to progress to the required state within the defined SLA timeframes, it will trigger a breach of the SLA.
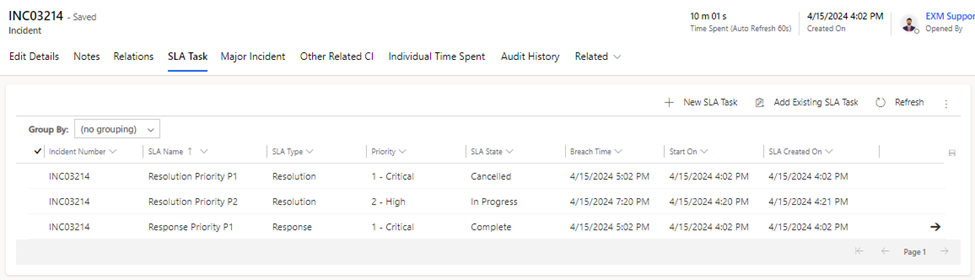
Change the Incident Priority
When changing the incident priority to "2 - High" the previous SLAs associated with the incident will be canceled, and new SLAs will be automatically attached.
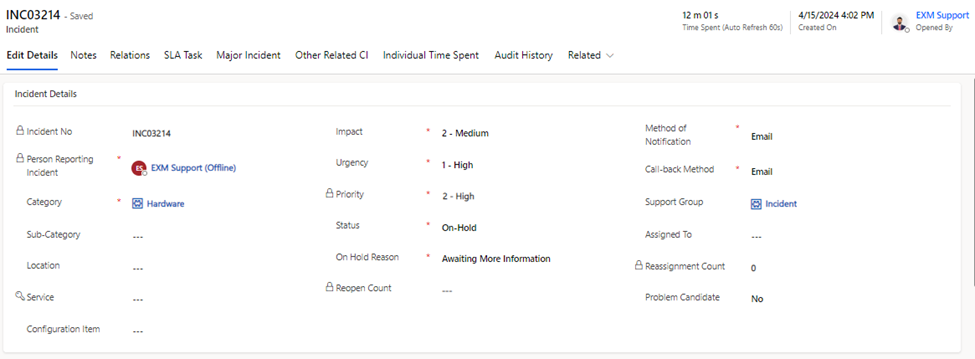
Change Incident Status
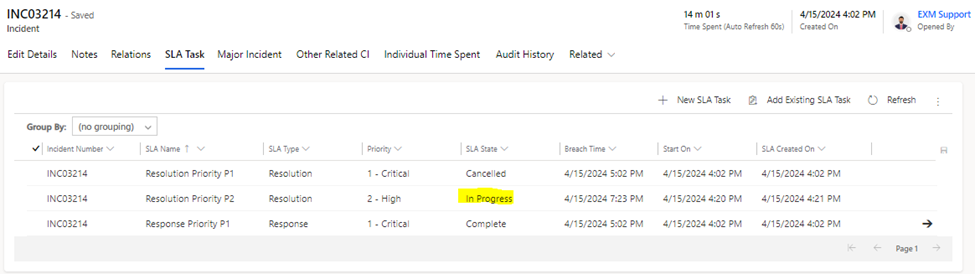
When changing the incident status to "On-Hold," the attached SLAs that are currently in progress will be paused.

When the incident status is changed back to "In Progress" the SLAs that were paused will resume progress accordingly.
When the incident status is closed, the associated SLAs are considered complete.
