Standard Change
Standard changes are pre-approved and have a low level of risk. The standard change template contains the changes that are already approved by the Change Advisory Board Members group.
Standard Change Template
Navigate to Administration > Standard Change in the left navigator.
Click on the  button on the top ribbon of the view. A form will appear

Title, Category, Implementation, Risk and Impact Analysis, Justification, Test Plan, Backout Plan, Business Justification.
| Fields | Description |
|---|---|
| Title | Name for the template. |
| Category | The category of the template, for example, Hardware, Network, Software. |
| Business Justification | Brief description for the template. |
| Status | Status of the template whether Draft, Pending for Approval, Approved, Retired. |
| Implementation Plan | Indicates steps required to implement the Change |
| Risk and Impact Analysis | Indicates the potential risks associated with the Change. |
| Justification | Indicates the reason for the required change. |
| Test Plan | Indicates the details of the planned and completed tests prior to implementation that indicate potential success of the Change. |
| Backout Plan | Indicates the steps to revert the Change to its state prior to implementation. Include information about when the Change can be backed out. |
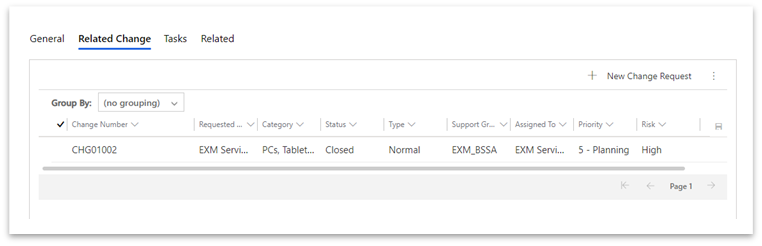
User can tie implemented changes to justify the template. Navigate to the Related Change tab. Click on the  button to add the change.
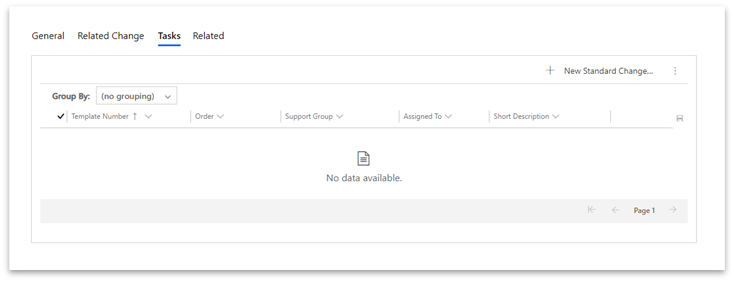
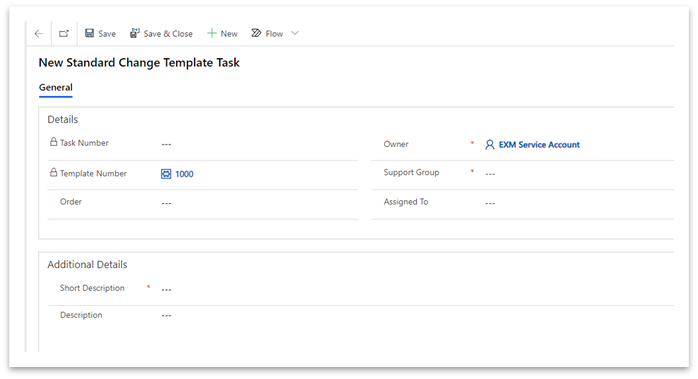
User can create tasks for the template by clicking on the  button under Tasks tab.
A form will appear. On save of the form, the task will be created and linked with the standard change template.
Standard Change Template States
- Draft
On creation, the template would be in draft state. Users can edit the details in this state.
- Pending For Approval
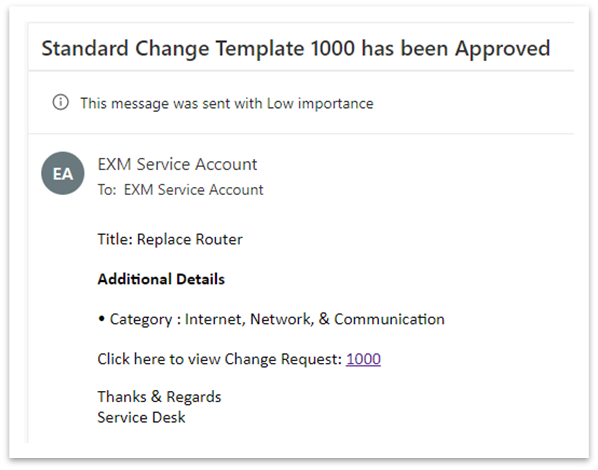
On click of  button, change proceeds further to Pending for Approval state for CAB Approval. Once it is approved by any of the CAB approvers, the template moves forward to the Approved state automatically. On rejection, it moves back to Draft state. An email and/or teams notification is sent to the owner whether the template is approved/rejected.

- Approved
The CAB has reviewed the template and approved it. The template would now be available to the users while creating a standard change.
- Retired
On click of button, change proceeds further to Retired state. Once retired, the template would be removed from the user’s view while creating standard change. The template details cannot be edited once retired.
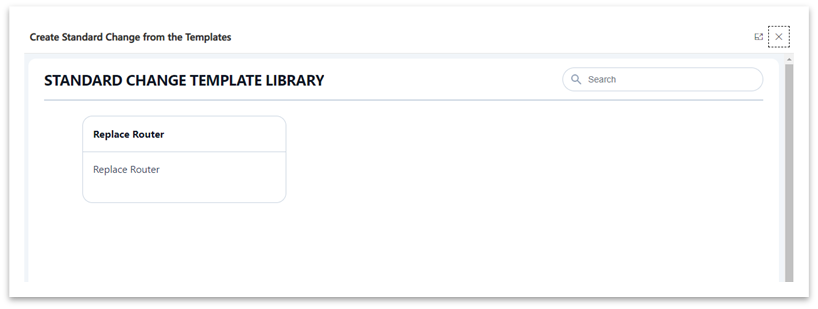
Create Standard Change
Navigate to Change Management > All Change Requests in the left navigator.
Click on  button. A popup will appear. Select the template to create change.
You will be redirected to the created change request form. The following fields will be auto populated with the details from the selected template: Category, Justification, Implementation Plan, Test Plan, Backout Plan, Risk, and Impact Analysis. The change tasks (if any) will be copied.
Workflow of Standard Change
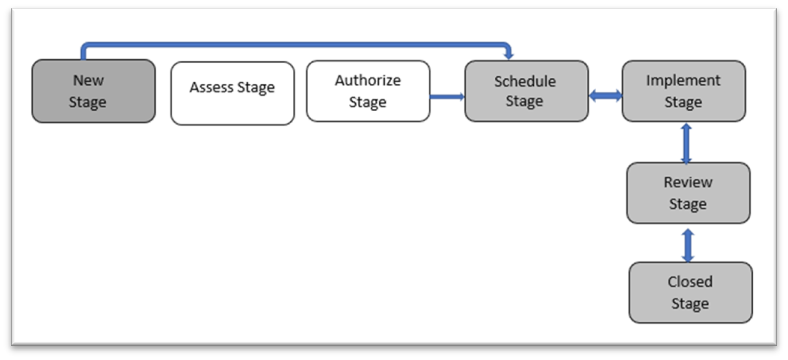
Users can edit the record at the new state.
On click of button, change proceeds further to Scheduled stage.
The change will undergo implementation. Once the change implementation is complete it will be sent for review.
After it has been successfully reviewed and all the change tasks are closed related to that change, the change can be closed.
To cancel a standard change, click on  button at the top in the change form. The change will move back to draft stage. It can be cancelled before Implement stage.
Emergency Change
A change that must be implemented as earlier as possible and has high priority that it bypasses Assess stage approval and goes straight to the Authorize state for approval by the eCAB.
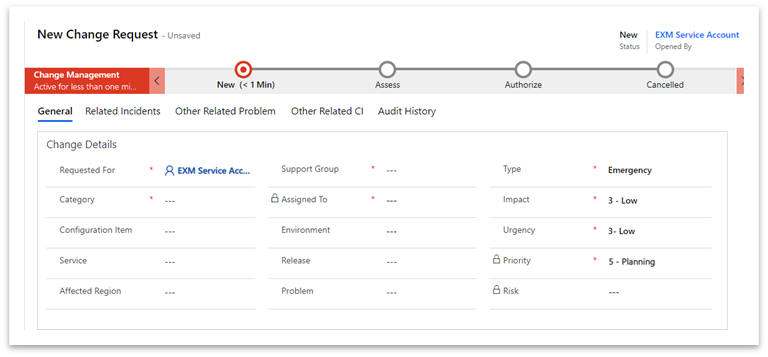
Create Emergency Change
Navigate to Change Management > All Change Requests in the left navigator.
Click on the button on the top ribbon of the view.

The new change form will open. Select the Type as “Emergency”
Workflow of Emergency Change
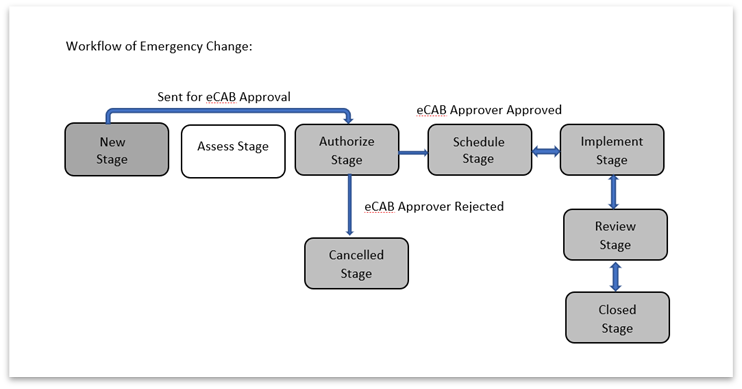
Once the change is created, the user will receive an email/teams notification with the change details.
Users can edit the record at the new state.
On click of button , change proceeds further to Authorize state for eCAB Approval.
After the change has been approved by any of the eCAB approvers, it will move to Schedule state automatically and if change is rejected by any of the eCAB approvers, it will move automatically to Cancelled state, auto cancelling all the change tasks whose status is open, pending or InProgress.
The change will undergo implementation after it is approved. Once the change implementation is complete it will be sent for review.
After it has been successfully reviewed and all the change tasks are closed related to that change, the change can be closed.
Normal Change
Normal change requests follow a prescriptive process which requires two levels of approval before being implemented, reviewed, and closed. Normal Change undergoes all the states before it is closed.
Create Normal Change
Navigate to Change Management > All Change Requests in the left navigator.
Click on the button on the top ribbon of the view.

The new change form will open. Select the Type as “Normal”.
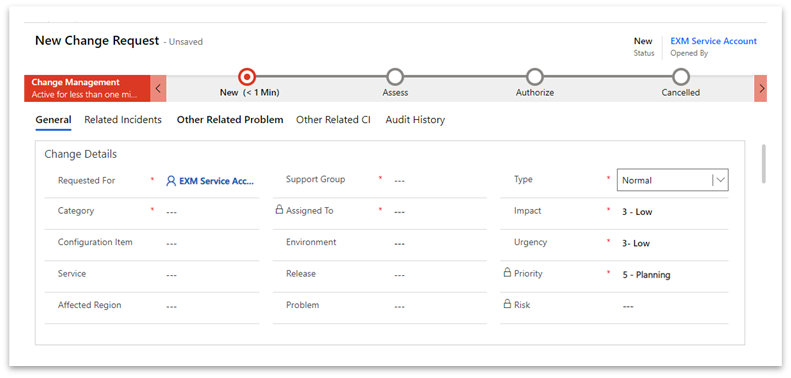
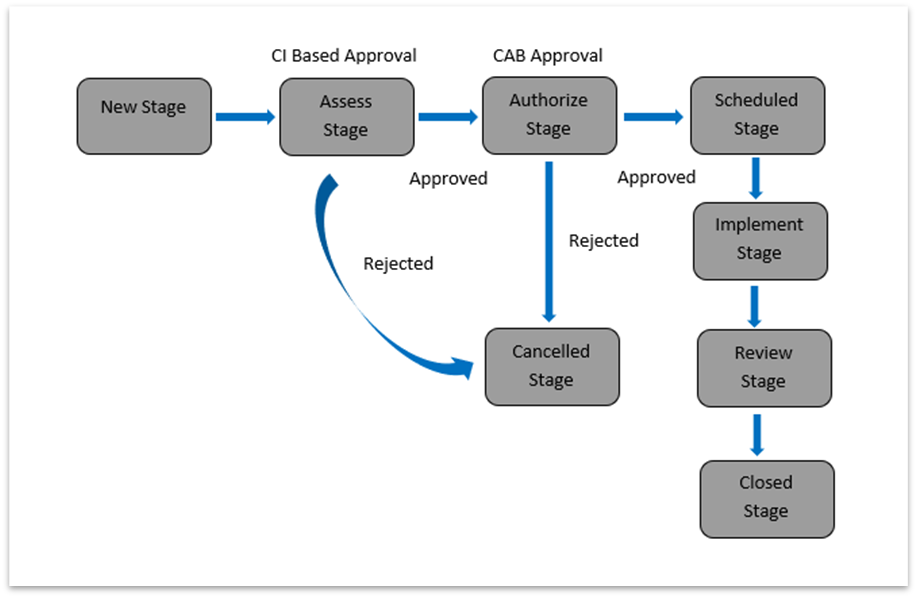
Workflow of Normal Change
Once the change is created, users will receive an email/teams notification with the change details.
Users can edit the record at the new state.
On click of button, change proceeds further to Assess state for approval based on configuration item.
After the change has been approved, it will move to Authorize state automatically for CAB approval. If change is rejected by any of the CAB group, it will move automatically to Cancelled state, auto cancelling all the change tasks whose status is open, pending or InProgress.
After the change has been approved by CAB, it will move to Schedule state automatically.
The change will undergo implementation after it is approved. Once the change implementation is complete it will be sent for review.
After it has been successfully reviewed and all the change tasks are closed related to that change, the change can be closed.
To cancel a normal change, click on button at the top in the change form. The change will move back to draft stage. It can be cancelled before Implement stage.
Change Template
Create a change from the published templates available to the user.
Create Change from Template
To create a Normal/Emergency Change Template, navigate to Change Management > All Change Requests in the left navigator.
Click on button to create change. A popup will appear.
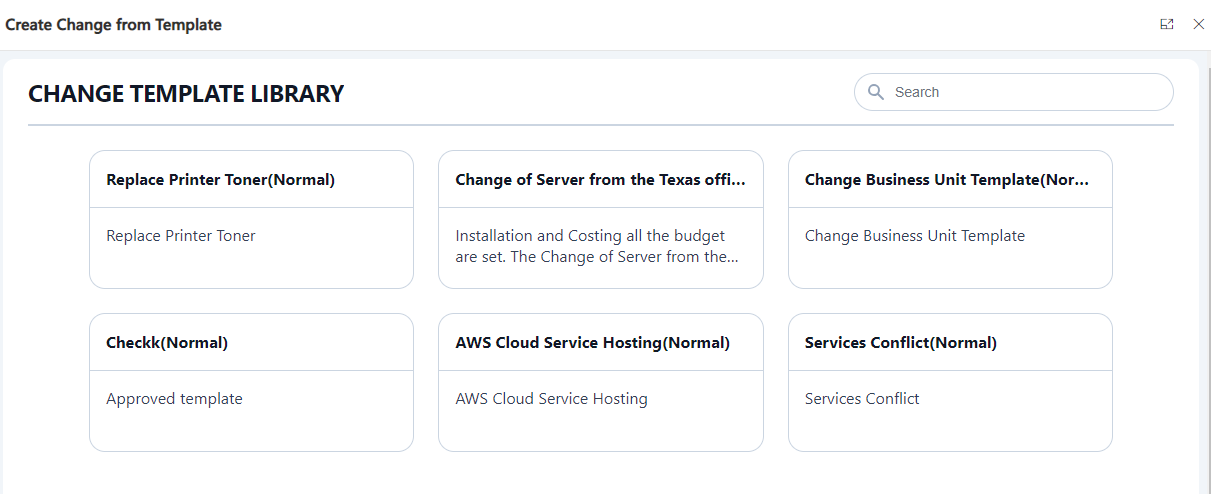
Select the template and the Requestor to raise a change > Click on Create.
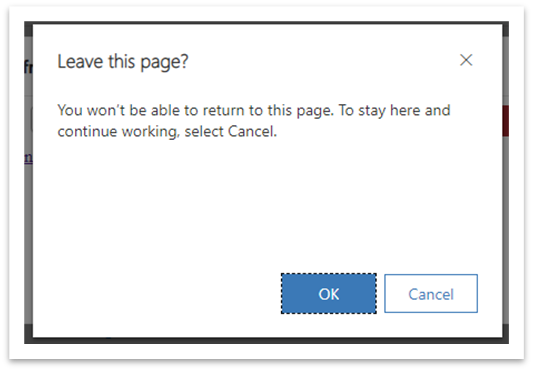
Click on ‘Ok’ to create the change and navigate to the record.
Create Change Template
To create a Normal/Emergency Change Template, navigate to Change Management > Templates in the left navigator.
Click on the button on the top ribbon of the view. A form will appear.
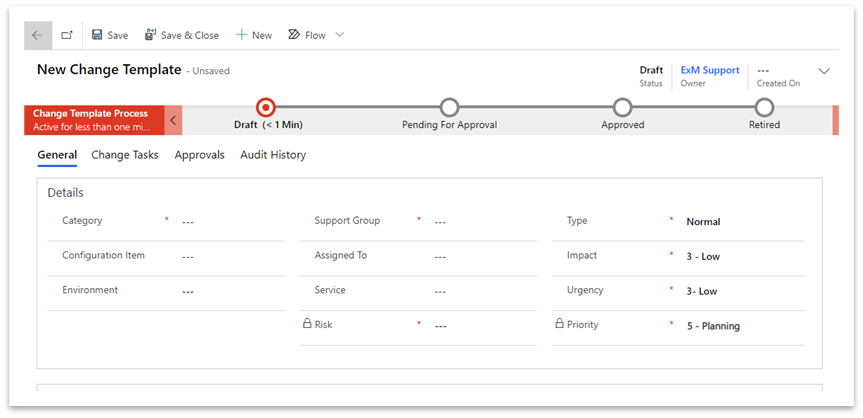
Title, Category, Support Group, Configuration Item, Short Description, Description, Risk, Type, Impact, Urgency, Priority, Implementation, Risk and Impact Analysis, Justification, Test Plan, Backout Plan, Business Justification.
| Fields | Description |
|---|---|
| Template Number | Unique Number for template. |
| Short Description | Brief description of the template. |
| Description | Detailed explanation of the template. |
| Category | The category of the template, for example, Hardware, Network, Software. |
| Status | Status of the template whether Draft, Pending for Approval, Approved, Retired. |
| Configuration Item | Changes that are related to service offering. |
| Impact | Impact is a measure of the effect. |
| Urgency | Urgency is a measure of how long the resolution can be delayed. |
| Priority | Priority indicates how quickly the stakeholders/fulfiller should address the change. It is calculated based on Impact and Urgency. |
| Support Group | Group who will work on the change. |
| Assigned To | User who works on the change. |
| Risk | The risk level for the change. This field is calculated based on Risk Assessment |
| Type | Type of change which is being created (Normal or Emergency) |
| Environment | Indicates whether the change is scheduled in testing, development, or production environment. |
| Implementation Plan | Indicates steps required to implement the Change |
| Risk and Impact Analysis | Indicates the potential risks associated with the Change. This field is required before the Change can be submitted for Approval. |
| Justification | Indicates the reason for the required change. |
| Test Plan | Indicates the details of the planned and completed tests prior to implementation that indicate potential success of the Change. |
| Backout Plan | Indicates the steps to revert the Change to its state prior to implementation. Include information about when the Change can be backed out. |
User can create tasks for the template by clicking on the  button under Change Tasks tab.
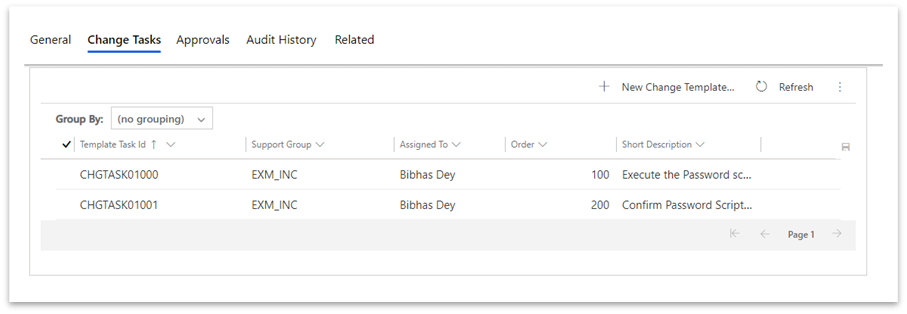
A form will appear. On save of the form, the task will be created and linked with the change template.
Change Template States
- Draft
On creation, the template would be in draft state. Users can edit the details in this state.
- Pending For Approval
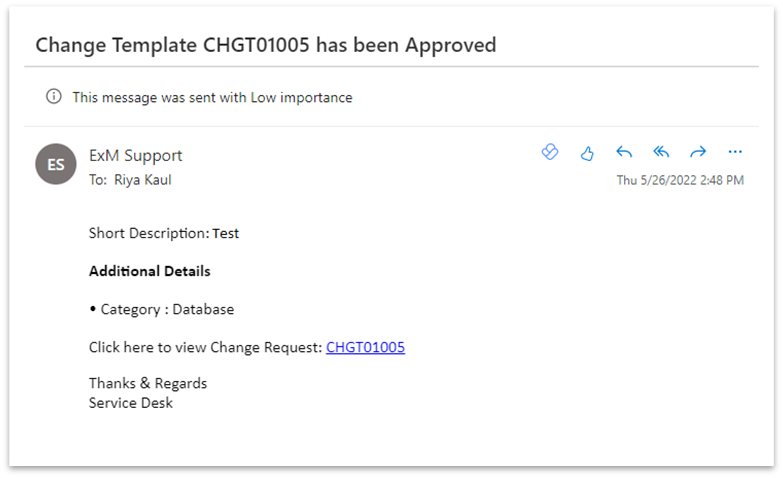
On click of button, change proceeds further to Pending for Approval state for CAB Approval. Once it is approved by any of the CAB approvers, the template moves forward to the Approved state automatically. On rejection, it moves back to Draft state. An email and/or teams notification is sent to the owner whether the template is approved/rejected.
- Approved
The CAB has reviewed the template and approved it. The template would now be available to the users while creating a change.
- Retired
On click of button, template proceeds further to Retired state. Once retired, the template would be removed from the user’s view while creating change. The template details cannot be edited once retired.