When you create a work order, parts play a vital role in ensuring its successful execution. They provide the essential elements needed to carry out your tasks effectively. In our FSM platform, you have the flexibility to add or remove any parts associated with a work order, giving you complete control over your inventory management.
To manage parts in your work order, follow these steps:
- Access the work order: Open the relevant work order in the system.
- Navigate to the parts section: Locate the dedicated section within the work order interface specifically designed for managing parts.
- Add parts: If you require specific components or materials for your service task, simply add the relevant parts to the work order. You can search our comprehensive parts catalog, select the desired items, and specify the quantities needed.
- Remove parts: In case you need to make any adjustments or changes, you have the flexibility to remove parts from the work order. This ensures that your inventory remains accurate and up to date.
By managing parts effectively within your work orders, you can streamline your service operations and ensure that you have the right resources available when needed.
Remember, our FSM platform empowers you to control the parts associated with your work orders, enabling efficient inventory management and facilitating successful service completion.
Example Illustration
Follow the steps below to manage parts and transfers-
Parts
Step 1: To add/remove parts, click on button.
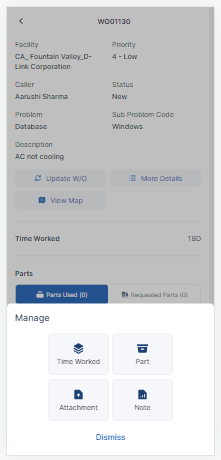
Step 2: The required parts can be added by clicking on  button and then click on
.
Parts can either be added from My Stockroom or from Any Stockroom. My Stockroom has all the parts listed from the field agent's truck who is working on this work order. If the parts are not available in the field truck, they can be transferred and used from any other stockroom which can also be a warehouse.
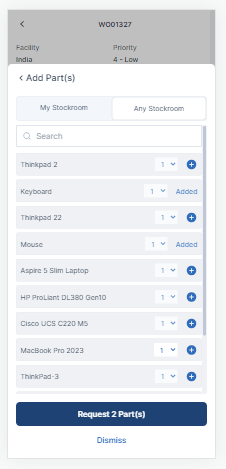
Step 3: Click on  button to request the parts.
Step 4: The selected parts will be shown in under Parts section.
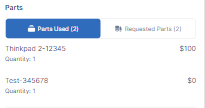
Step 5: To track the status of the part and manage its transfers, navigate to the Parts from the below navigation bar.

Step 6: All the requested parts will be listed in Parts section.
Transfers
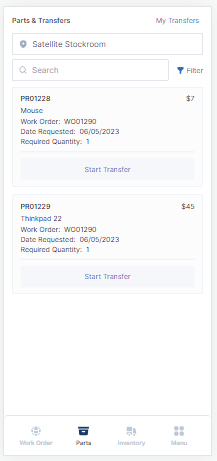
Step 7: To transfer the required parts into your stockroom/truck, click on  button under the specific part.
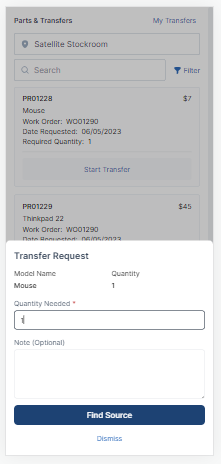
Step 8: The quantity can be updated as per the requirement of parts and notes can also be added.
Step 9: Click on  button to look for a stockroom from which the transfer can be made.
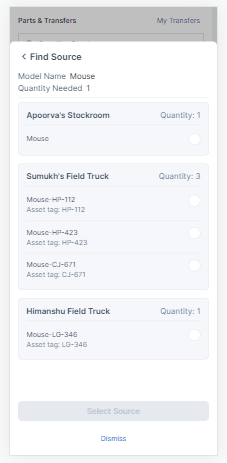
Step 10: All the stockrooms with parts available will be listed. One can select the parts from any stockroom/truck to start the transfer.
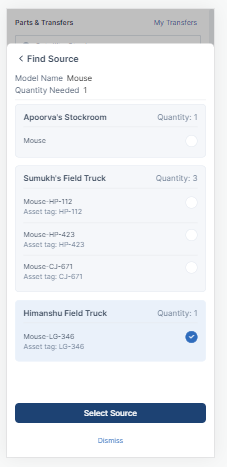
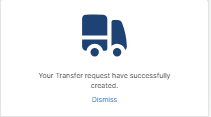
Step 11: Click on  button and initiate the transfer.
My Transfers
Step 12: To track the transferred parts, navigate to My Transfers.
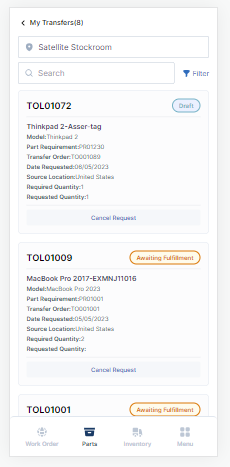
Step 13: The details of the transfer order can be viewed in this section. If the transfer is not required anymore, it can be canceled by clicking on  button and the transfer order will be canceled.
Step 14: Click on  button after the transferred part has reached your stockroom.
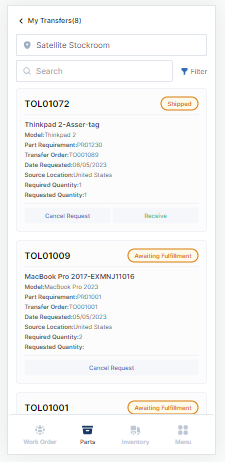
Transfers assist in ensuring that the appropriate parts are available when needed for field service operations at the appropriate locations. They facilitate effective part distribution and redistribution throughout an organisation, enhancing inventory control and reducing service delivery delays.