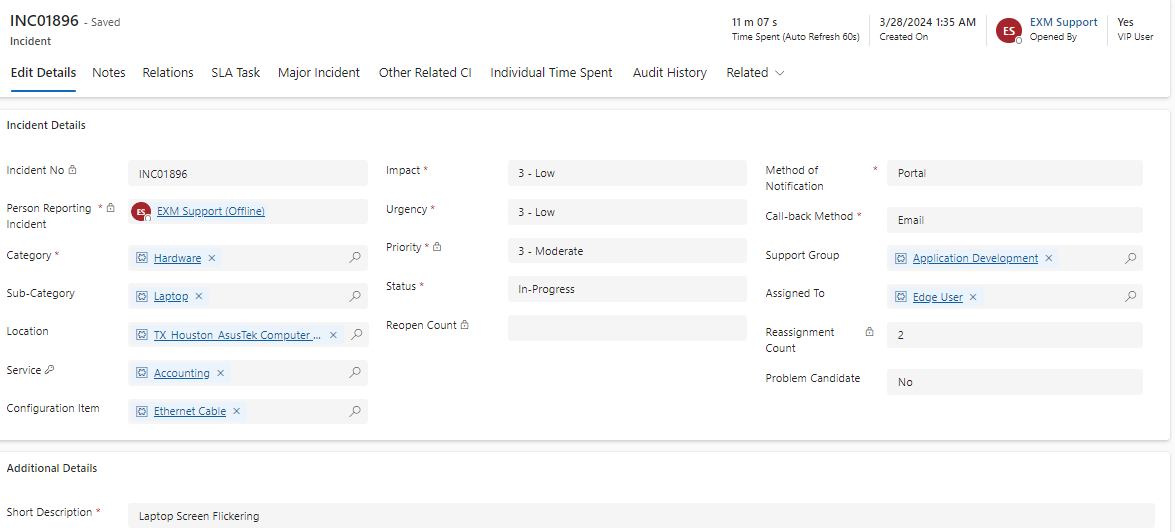
Edit Details tab
All the information related to the Incident is present in this tab. An Admin can view/edit the fields and update the incident.
| Fields | Description |
|---|---|
| Assigned To | User who works on the incident. |
| Call-back method | Communication method used by the fulfiller to contact the user. |
| Category | Type of issue. |
| Closure Category | A category needs to be selected to resolve the incident. |
| Closure Notes | The notes will be added once the incident is resolved. |
| Configuration Item | Affected CI, if applicable. |
| Created On | Capture the date and time of incident registration. |
| Description | Detailed explanation on the incident. |
| Documents Section | Add/View all the attachments related to Incident. |
| External ID | Unique Record Identifier for external systems. |
| External System | External System associated with the incident. |
| Impact | Impact is a measure of the effect. |
| Incident Number | Unique auto-generated incident number. |
| Informed Names | Users who receive update notifications about this incident. |
| Location | Location of the person reporting incident. |
| Method of Notification | Communication method used by the user to create incidents. |
| On-Hold Reason | A reason needs to be filled once the incident status is on-hold. |
| Person Reporting Incident | User who contacted you with an issue. |
| Priority | Priority is based on impact and urgency. The Priority Matrix is configurable and can be accessed from the Administration section of the application. Administration > Priority Matrix Priority Matrix
The EXM platform requires us to provide justification for manually overriding priority. |
| Problem Candidate | The default is set to No. |
| Reassignment Count | Number of times the Support Group has changed. Reassignment Threshold: After a specific count of Reassignment, an email/Teams notification will be sent out to a group that can be configured from System properties, with the Incident details captured. |
| Reopen Count | Number of times user reopens the incident. |
| Resolved Date | The date for Resolving is captured automatically. |
| Service | Indicates the services tied with the incident based on Category and Sub-Category. |
| Short Description | Brief description of the incident. |
| Status | Status of the Incident. Out of box choices are: a) New b) In-Progress c) Resolved d) Closed e) Canceled f) On-Hold |
| Sub-Category | On Selecting Category, Select the Subcategory, if applicable. |
| Support Group | Group who will work on the incident. |
| Time Spent | Time spent on the incident. |
| Urgency | Urgency is a measure of how long the resolution can be delayed. |

Incident Task
An incident task is used when a particular incident requires other support groups to get involved in order to resolve one incident. Incident tasks are child of incidents. If you want different teams to perform tasks as part of the incident, you can create an incident task under the incident and assign it to that team.

Notes tab
Internal Notes
Admin can add internal notes by clicking on the  button on the top ribbon. Special instructions or information is recorded herein on how to resolve, or steps taken to resolve the incident, if applicable. Any internal notes are not visible to the customer.
A popup appears where one can add an internal note.
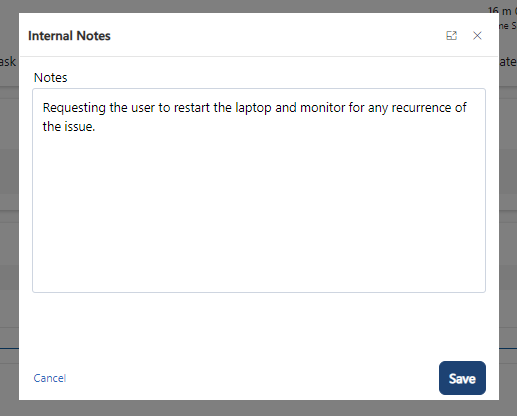
Click on the Save button to add the note.

Timeline
The Timeline maintains a historical record referencing when a ticket is updated, or if any notes are added. Also, one can add attachments to the notes.
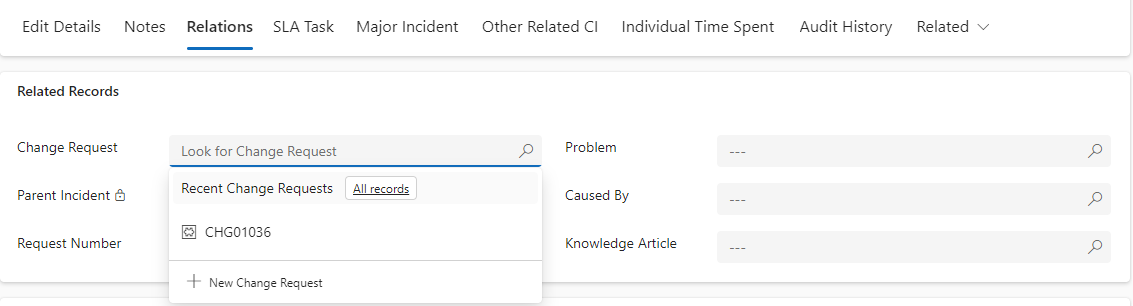
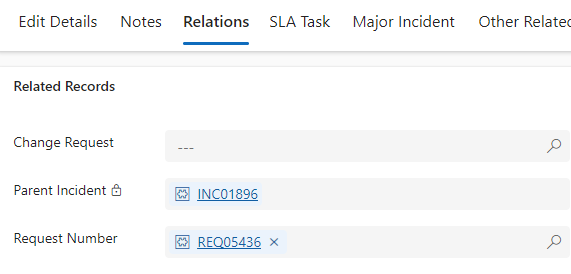
Relations tab
All the related records for the incident can be found in this tab.
Change Request
To add an already created change record to the incident, click on the Change Request field and add the Change Record.
To add a new Change record, click on the  button on the top ribbon. You will be redirected to Change Request Module.
Related Problem
To add a previously created problem record to the incident, click on the Problem field and select the Problem Record.
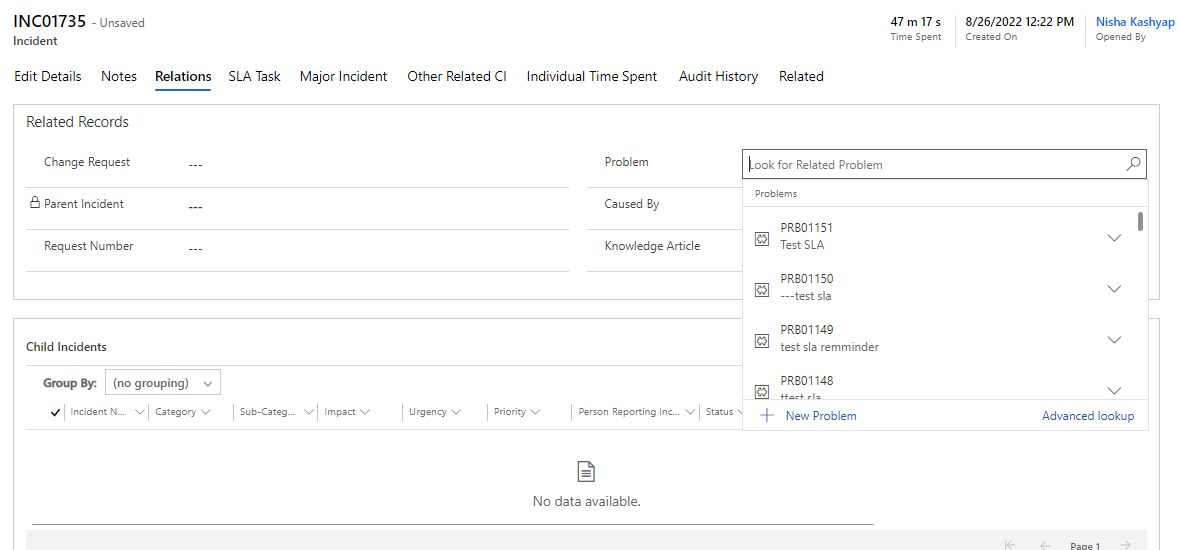
To add a new Problem record, click on the  button on the top ribbon. You will be redirected to the Problem Module.
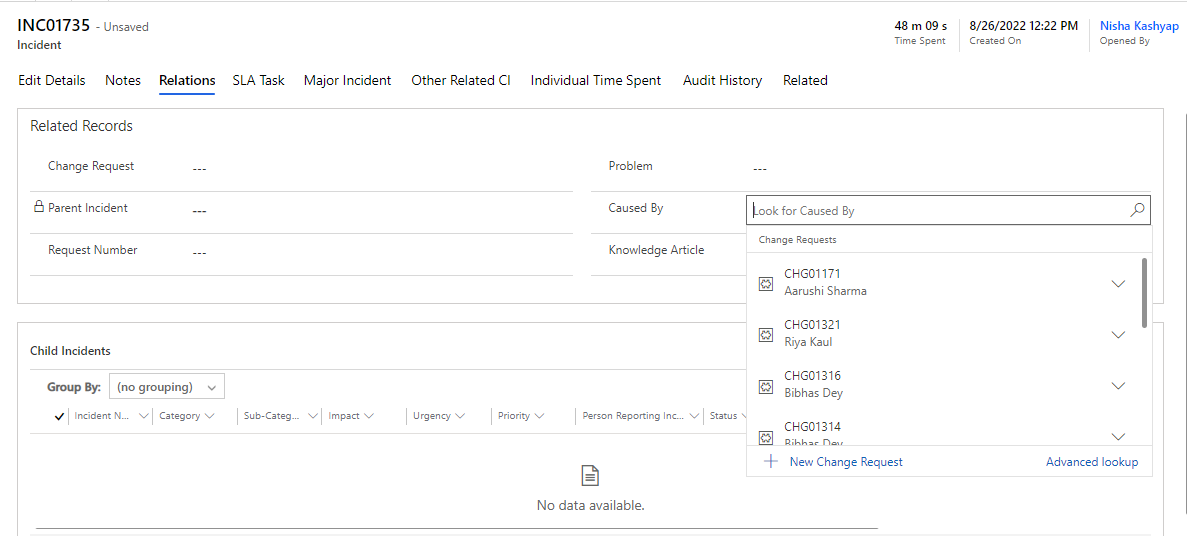
Caused By
Is a relationship between Incident Record(s) and associated RFCs. To add a record in this field, click on the field and select the related record.
Parent Incident
Unique number which links the current incident to a parent incident.

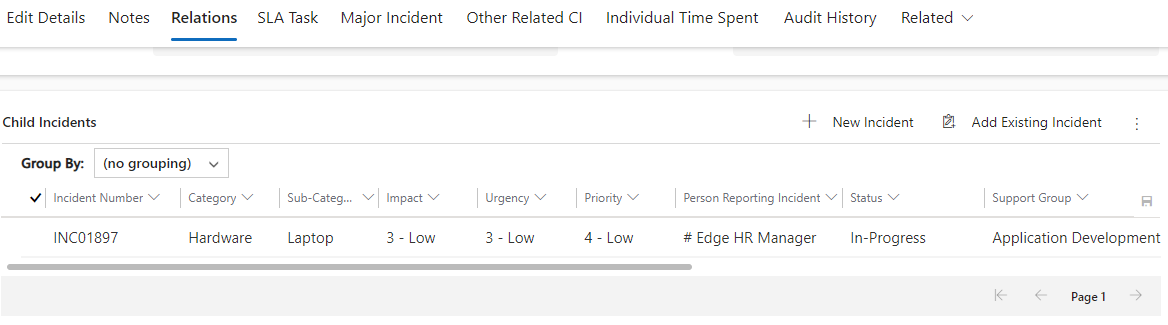
Child Incident
An admin can add child incidents via the Child Incident section and afterwards a record will link to a parent incident automatically.
There are two ways to associate a child incident to a parent. The first is to click on the “New Incident Details” button and the second is to click on the “add existing incidents details” button, either method associates a children incident to the current incident record.
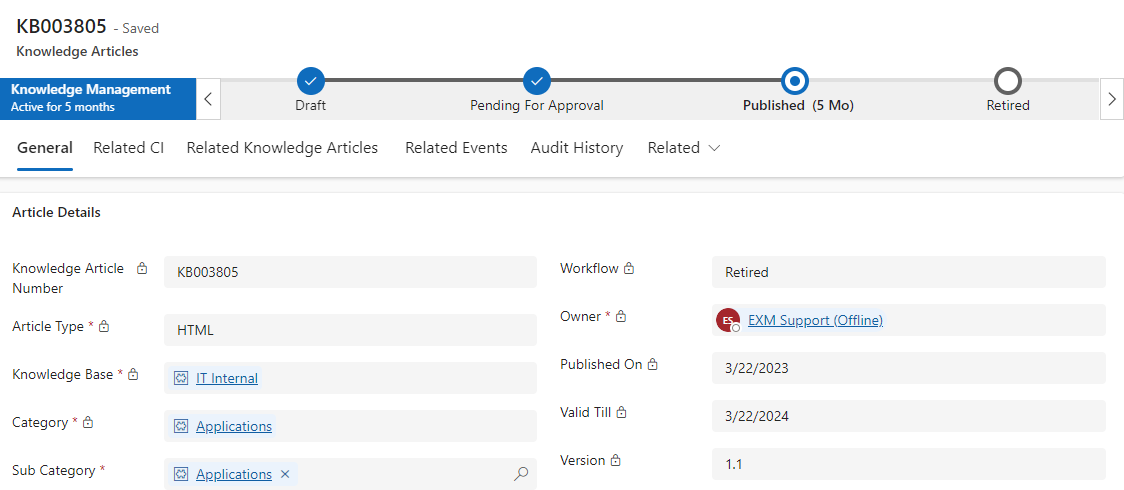
Knowledge Article
The EXM platform seamlessly incorporates Knowledge Management to aid in incident investigation, diagnosis, and resolution. Following the resolution of an incident, the Knowledge Fulfiller can generate a knowledge article directly from the incident by selecting a  button in the top ribbon.
Request Number
The EXM platform seamlessly integrates with Request Fulfillment, streamlining the swift initiation of a Service Request Record directly from an Incident Record. It also establishes linked relationships between Incident Records and their corresponding Service Request Records for efficient management.
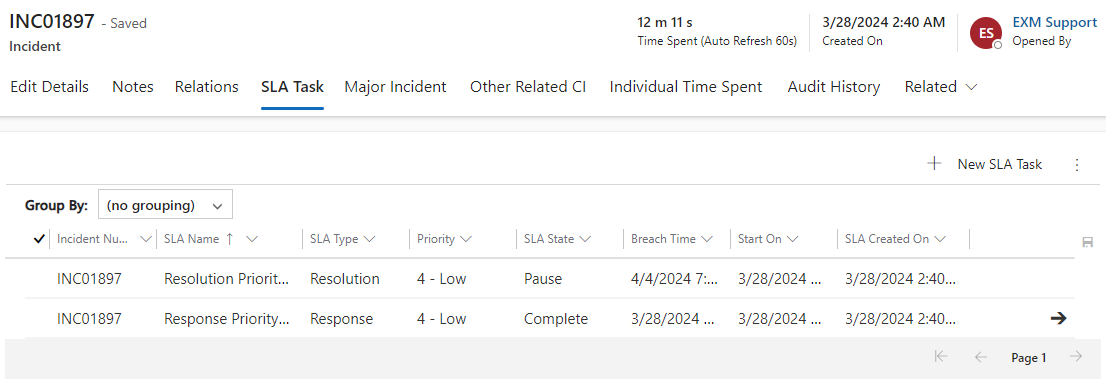
SLA Task tab
A service-level agreement (SLA) is a commitment between a service provider and a client. Fundamental aspects of the service are quality, availability and responsibilities that are agreed upon between the service provider and the service user. You can create one or more Service Level Agreement (SLA) definitions and use them to create an SLA record. The SLA record provides a method to establish an SLA that are meaningful for your organization's requirements. To learn more about SLA, please click on this link Service Level Agreement.
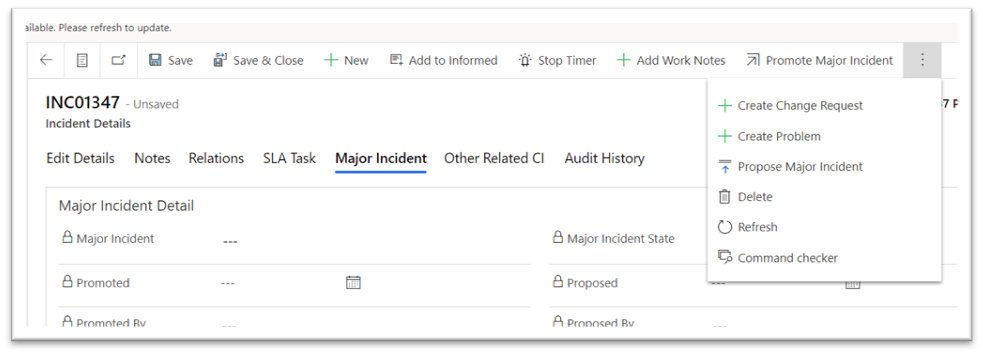
Major Incident tab
A major incident (MI) is an incident that results in significant disruption to the business. A major incident demands a response beyond the routine incident management process. Major incidents have a separate procedure with shorter timescales and higher priority, so that there is a faster resolution process for incidents with high business impact.
Propose Major Incident
Propose an incident as a major incident by clicking Propose Major Incident Button on top of the Incident form.
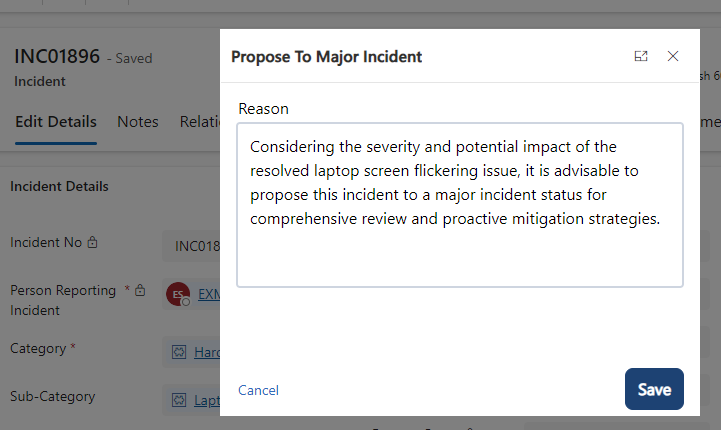
On Proposing a major Incident, an approval is sent to the Major Incident Team to either Promote or Reject the incident.
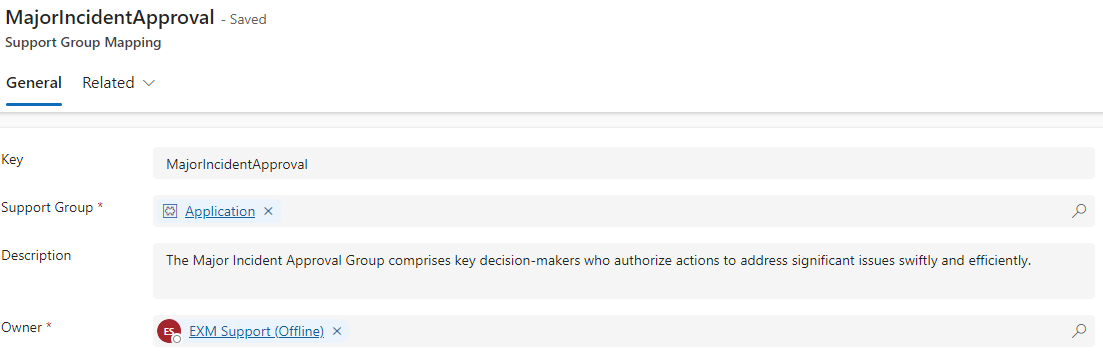
Major Incident Team can be configured from
Foundation Data > Group Mapping > MajorIncidentApproval.
Add any Support Group that will be notified for Major Incident Approvals.
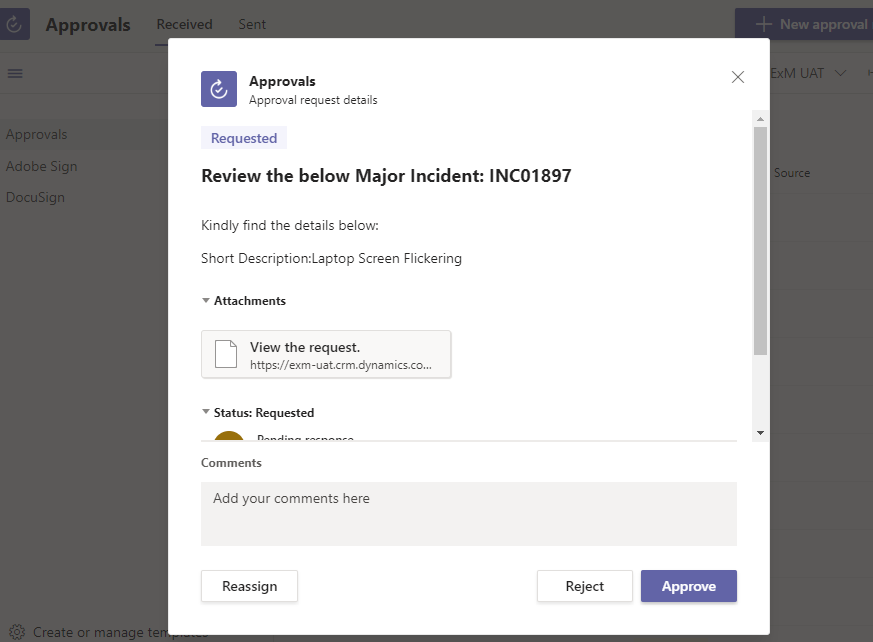
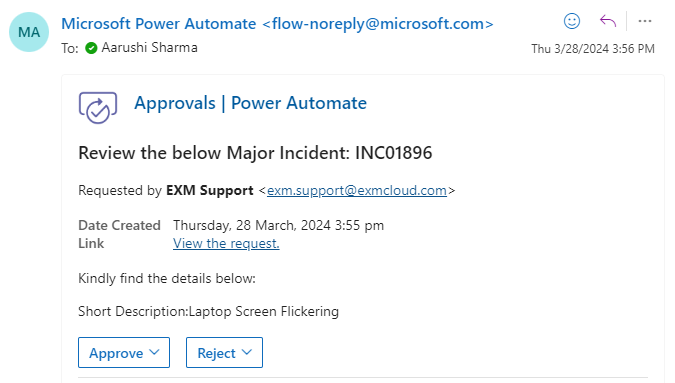
The approval request can be approved/rejected from MS Teams or email notification.
Once the Approval is granted, the Incident is upgraded to Major status and comments are logged; however, if rejected, it remains non-Major and updates to Rejected status with approver comments.
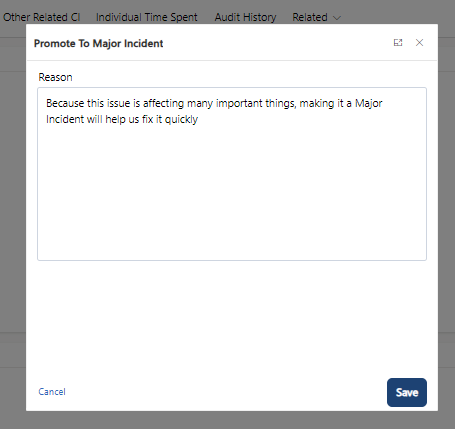
Promote Major Incident
Promoting a Major Incident means recognizing a serious problem that needs urgent attention and extra resources to fix it quickly and minimize its impact on operations.Click the Promote Major Incident button located on the top ribbon to escalate critical issues for urgent attention and enhanced resource allocation.

Demote Major Incident
When an incident is incorrectly evaluated to be a major incident, you can demote the major incident.
Upon clicking the Demote Major Incident button, a popup will prompt you to provide a reason for rejecting the Major Incident, ensuring transparency and documentation of the decision.

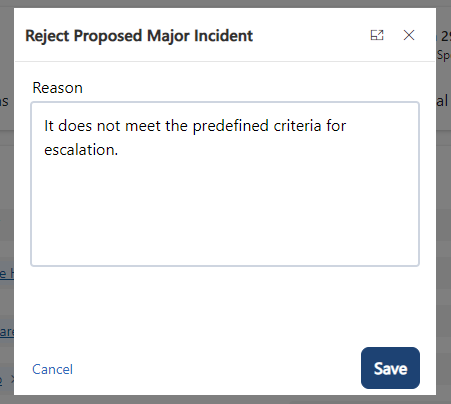
Reject Major Incident
When a potential major incident is suggested, the Major Incident Manager reserves the right to reject it if it doesn't meet the criteria for escalation.
To reject the incident, simply click the Reject Major Incident button located at the top ribbon.
By clicking the button, a popup will appear, prompting you to provide a reason for rejecting the Major Incident.
| Fields | Description |
|---|---|
| Major Incident | The state of major incident. a. Propose Major Incident b. Promote to Major Incident c. Reject Major Incident d. Demote Major Incident |
| Major Incident State | The state of major incident. a. Proposed b. Accepted c. Rejected d. Demoted |
| Promote | Date and time when the incident was proposed as a major incident candidate. |
| Promoted by | The user who promoted the incident to a major incident. |
| Proposed | Date and time when the incident was proposed as a major incident candidate. |
| Proposed by | The user who proposed the incident to a major incident. |
| Comments | Comments of the Approver are captured. |
Other Related CI tab
Associate affected or impacted configuration items (CIs) with an incident record to find out how the incident affects other CIs with dependent relationships.
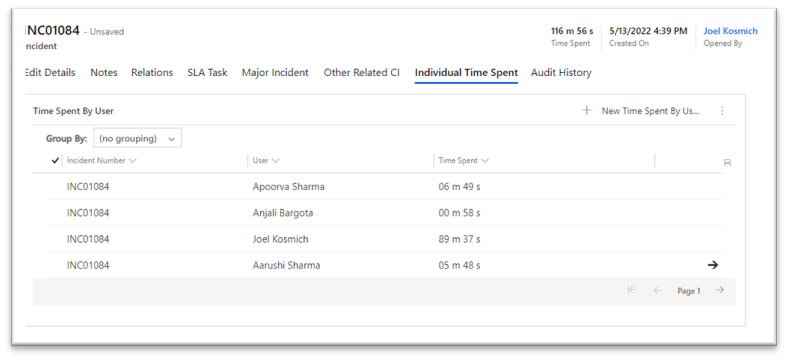
Individual Time Spent tab
Capture the time spent by individual users who worked on the incident.
The total time is calculated by summing up the time spent by all the individual users who worked on the incident so that the business impact is calculated.
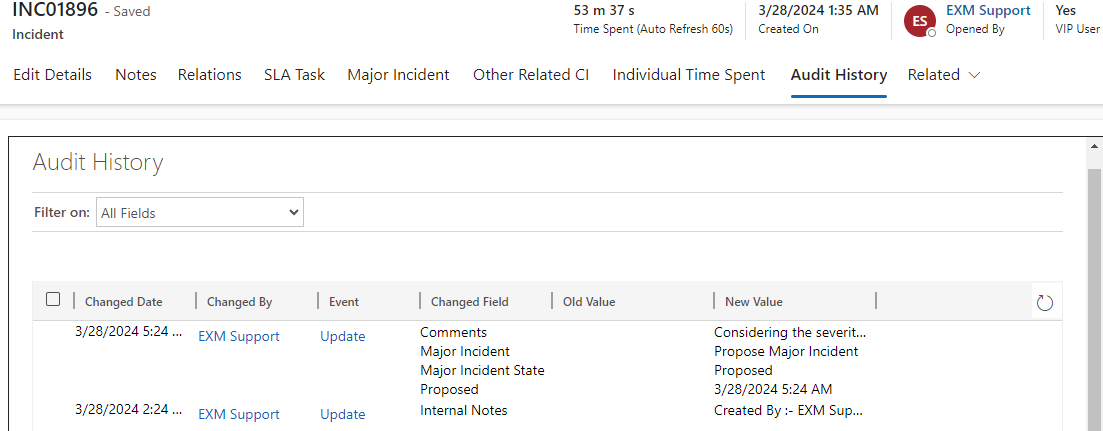
Audit History tab
Any changes/updates made to the incident will be captured in the audit history tab. The person who made the changes will be captured along with the time and the updated fields.
Audit History is where the system stores historical information for all records. These records are intended to be kept forever so that administrators can always track the history of audited records. As the number of auditing records grows over time, it becomes more inefficient to directly query the Audit table for historical information.