All information related to the problem is available in this tab. Users can view/edit the fields and update the problem.
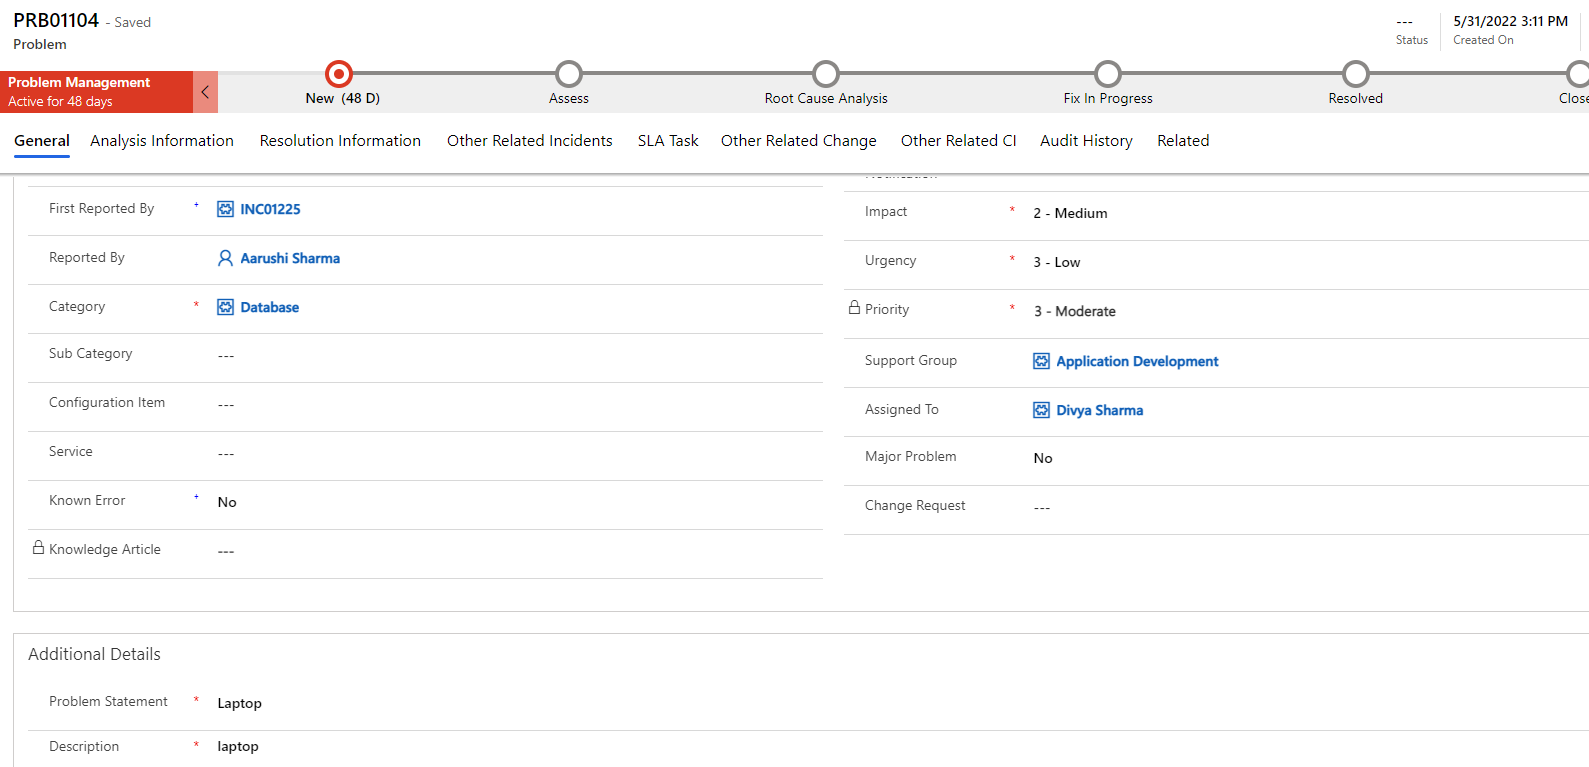
Fields | Description |
|---|---|
Assigned To | User who works on the problem. |
Category | Type of issue. |
Closure Category | A category needs to be selected to resolve the problem. |
Closure Notes | The notes will be added once the problem is resolved. |
Configuration Item | Affected CI, if applicable. |
Created On | Capture the date and time of problem registration. |
Change | Capture the change request number. |
Description | Detailed explanation on the problem. |
Problem Statement | Brief description of the incident. |
Impact | Impact is a measure of the effect. |
Known Error | A Known Error is a problem that has a documented root cause and a Workaround. |
Method of Notification | Communication method used by the user to create incidents |
Major Problem | Indicates Major Problem |
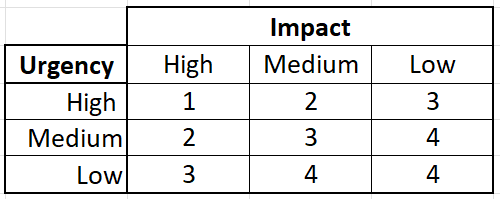
Priority | Priority is based on impact and urgency. The Priority Matrix is configurable and can be accessed from the Administration section of the application. Administration > Priority Matrix
|
Reported By | User who contacted you with an issue |
Status | Status of the Problem. Out of box choices are:
|
Service | Indicates the services that are related to the problem. |
Sub-Category | On Selecting Category, Select the Subcategory, if applicable. |
Support Group | Group who will work on the problem. |
Urgency | Urgency is a measure of how long the resolution can be delayed. |
Problem Task
A problem task is the smallest unit of work necessary to resolve a problem. You can divide a problem into multiple tasks, which can then be easily assigned to different assignment groups or users. The Problem Task Section is located within the General Tab.
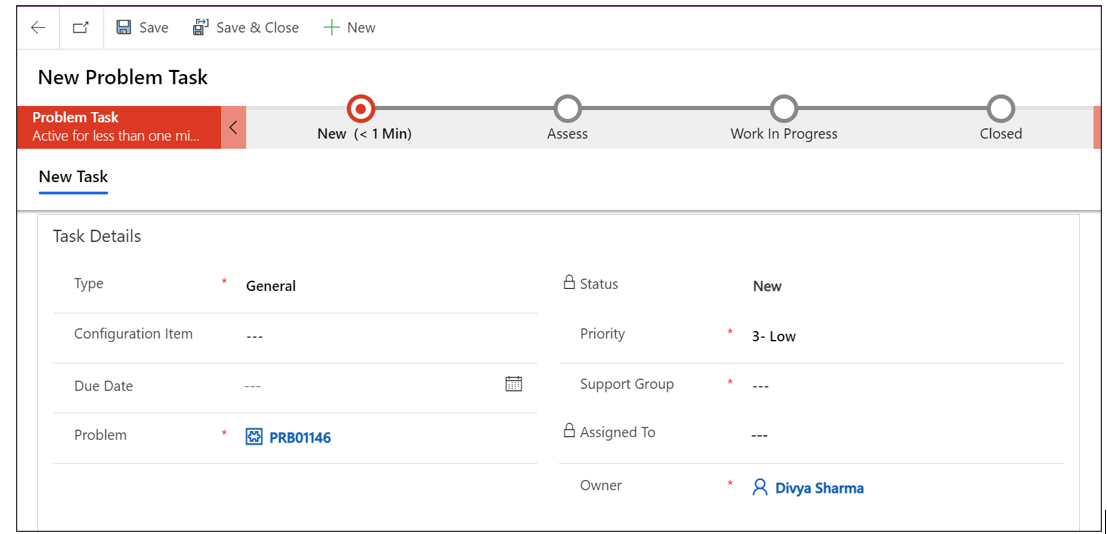
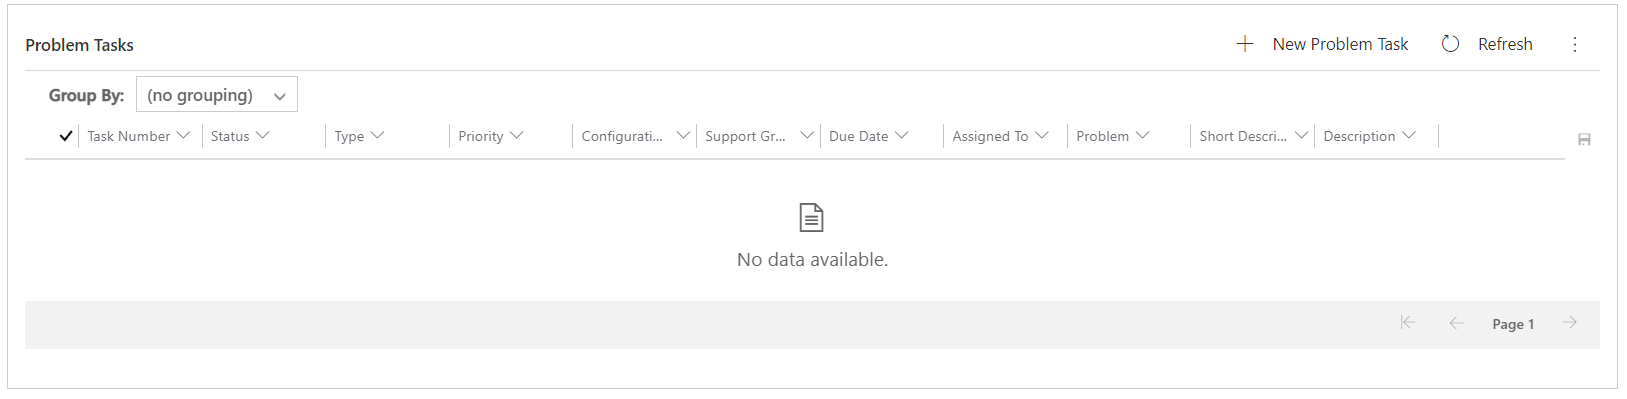 To create a problem task, click the 'New Problem Task' button to display a new problem task form.
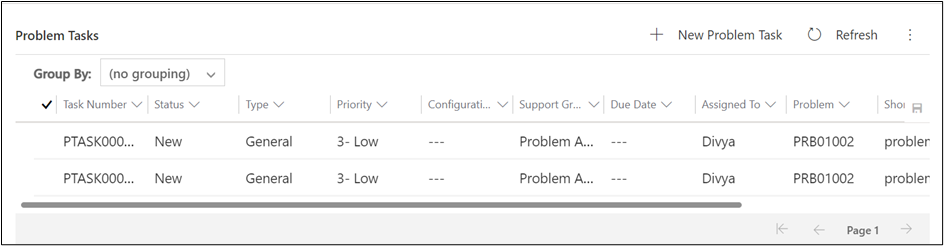
Complete all mandatory fields and click 'Save.' Once saved, it appears as Problem Task records. The life cycle of each record is visible in the list, while email and other life cycle-triggered events are recorded in the Time Line section of the Problem Task Form.
Problem Approval
View details regarding the approvals for the problem.

The following details are captured:
Field | Description |
|---|---|
Action Date | Date of action on which the approval approves the request. |
Approver Names | The names of the users who received the approval requests. |
Approver Comments | Captures the approvers comments while responding to the request. |
Status | Captures whether the approver rejected or approved the request |
Module | Capture the problem number. |
Id | Capture the problem approval unique identifier number. |
Timeline
The Timeline maintains a historical record of ticket updates and notes. You can also add attachments to the notes.

*Analysis Information *
Workaround
A workaround can be proposed to fully resolve an issue or provide a temporary fix. The problem manager describes the workaround and can publish it to the attached incident.
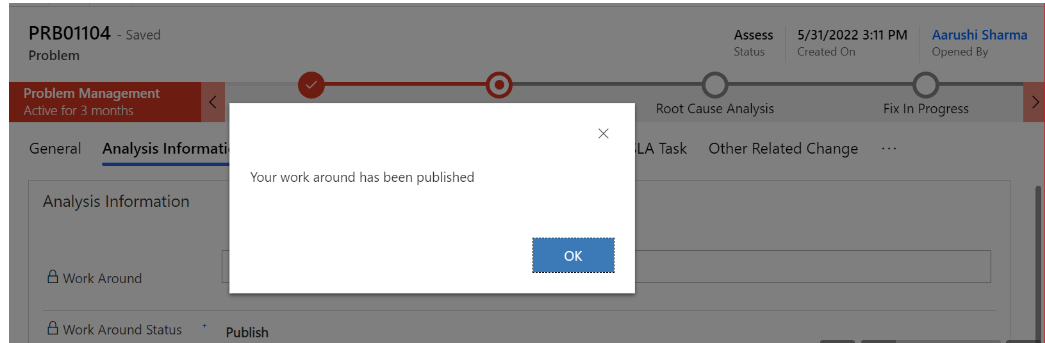
Click the 'Publish Workaround' button in the top ribbon. This action will publish the workaround, change the state to 'Draft,' and send notifications to related incidents. A popup will appear after clicking the button.
Cause Notes
"Cause notes" are brief descriptions or records in a problem module that list the main causes of a specific problem, assisting in its study and solutions. They aid in determining the cause of the issue and direct efforts to stop it from happening again.
Resolution Information Tab
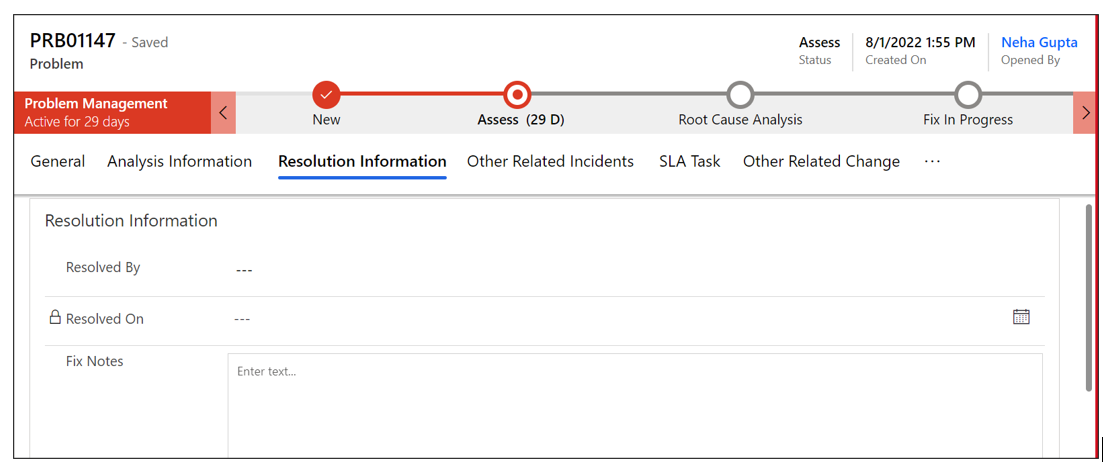
To track who resolved the problem and when it was resolved, certain fields within the resolution information must be filled out while the problem is in the resolved state.
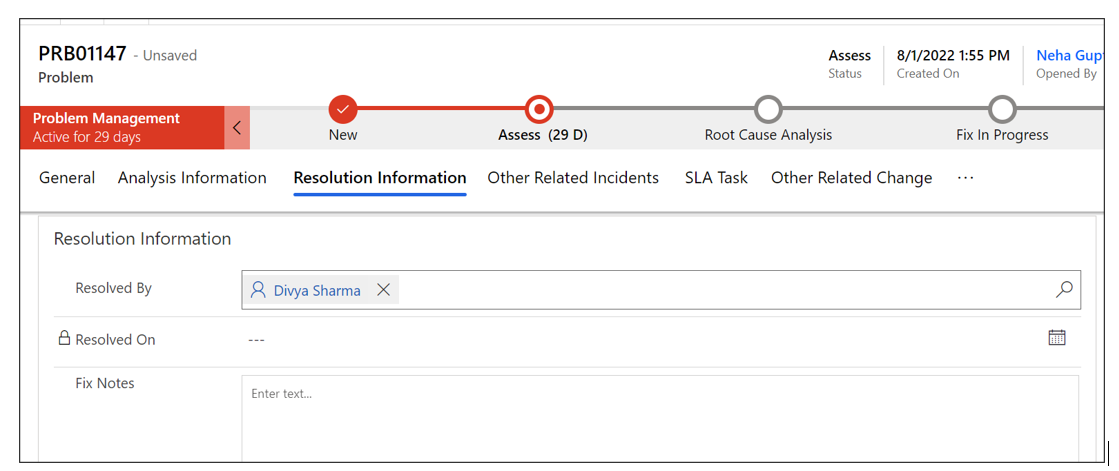
Resolved By
In this field, we capture information about who resolved this problem.
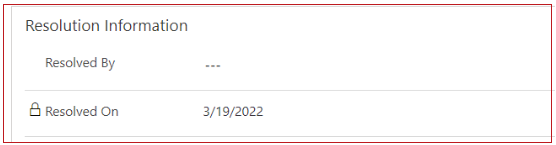
Resolved On
In this field, we capture the date and time when the problem was resolved.
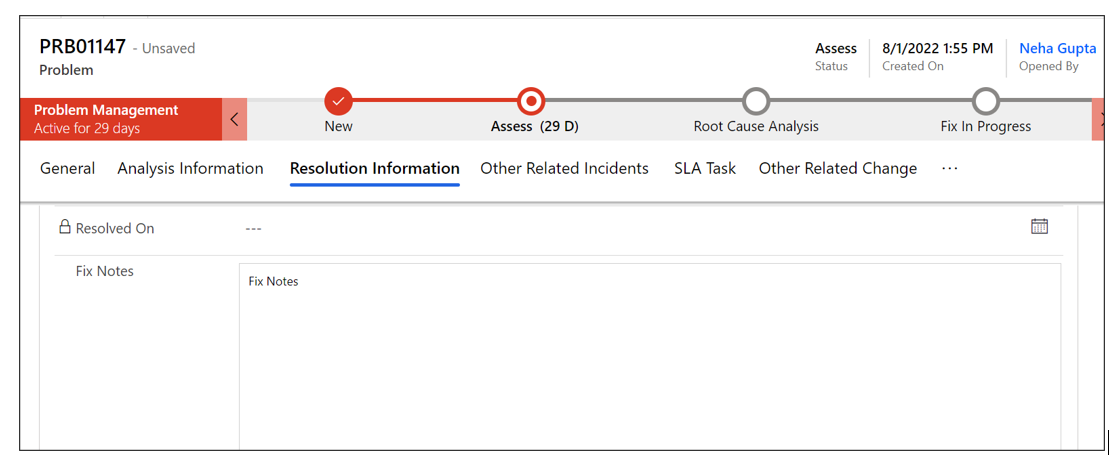
Fix Notes
In the fix notes, the Problem Manager can provide the solution to resolve the problem.
Other Related Incidents Tab
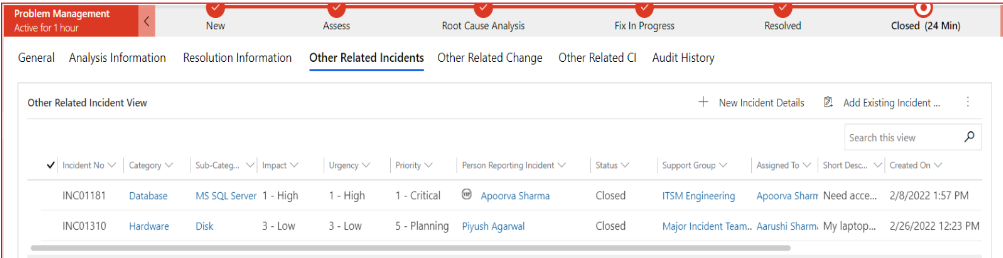
Within the "Other Related Incidents" section, you can either add an existing incident by clicking on "Add Existing Incident," or create a new incident by clicking on "+ Add New Incident Details."
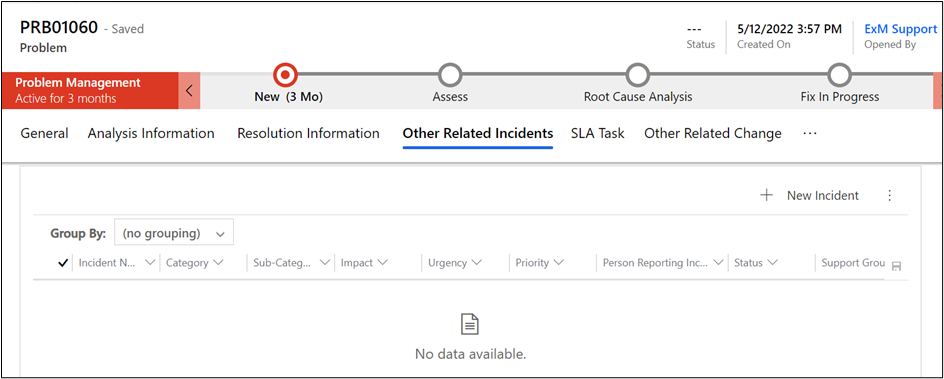
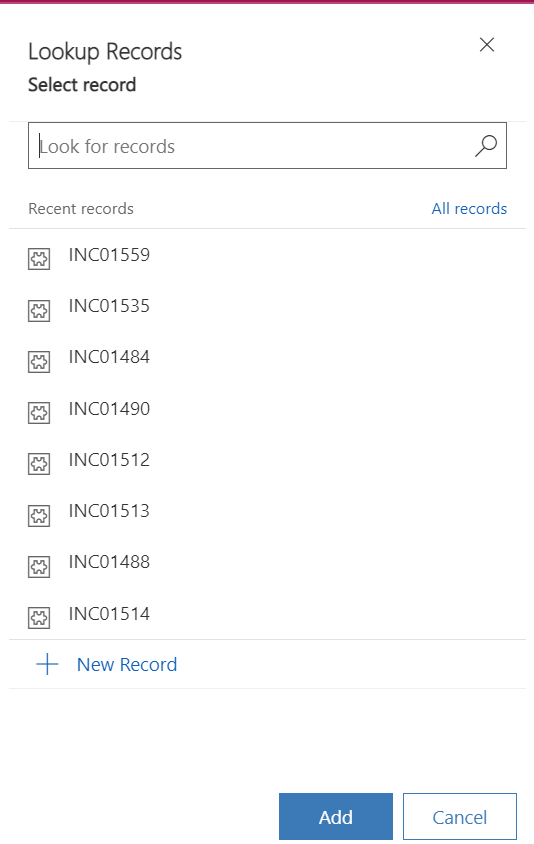
When you click the "Add Existing Incident" button, all existing incident numbers become visible. You can then select one or more incidents to associate with the record.
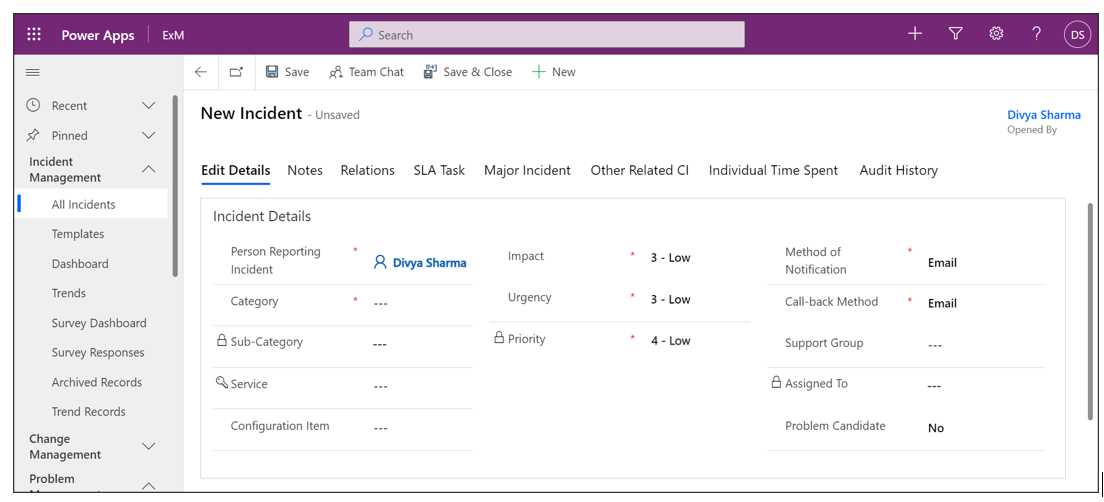
When you click the "+ New Incident Details" button, a new incident form is displayed, and all mandatory fields need to be filled. After saving, the incident is listed and appears in the related incidents records list.
SLA Task tab
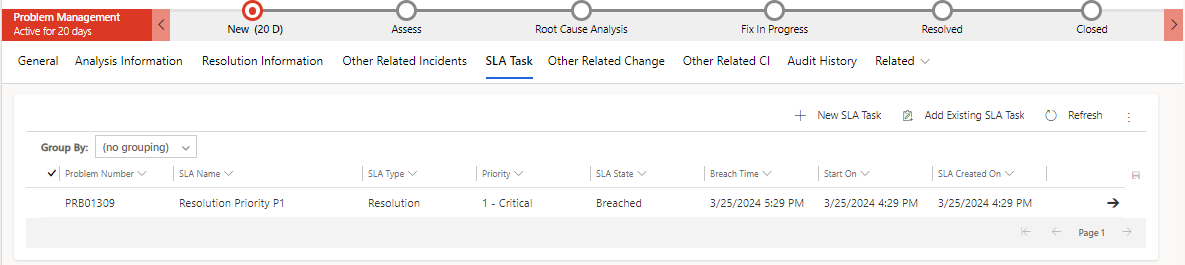
A service-level agreement (SLA) is a commitment between a service provider and a client. Fundamental aspects of the service are quality, availability and responsibilities that are agreed upon between the service provider and the service user. You can create one or more Service Level Agreement (SLA) definitions and use them to create an SLA record. The SLA record provides a method to establish an SLA that are meaningful for your organization's requirements. To learn more about SLA, please click on this link Service Level Agreement.
Other Related Change Tab
Within the "Other Related Change" section, you can either add the change directly by clicking "Add Existing Change Records" or create a new change by clicking " Add New Change Request."
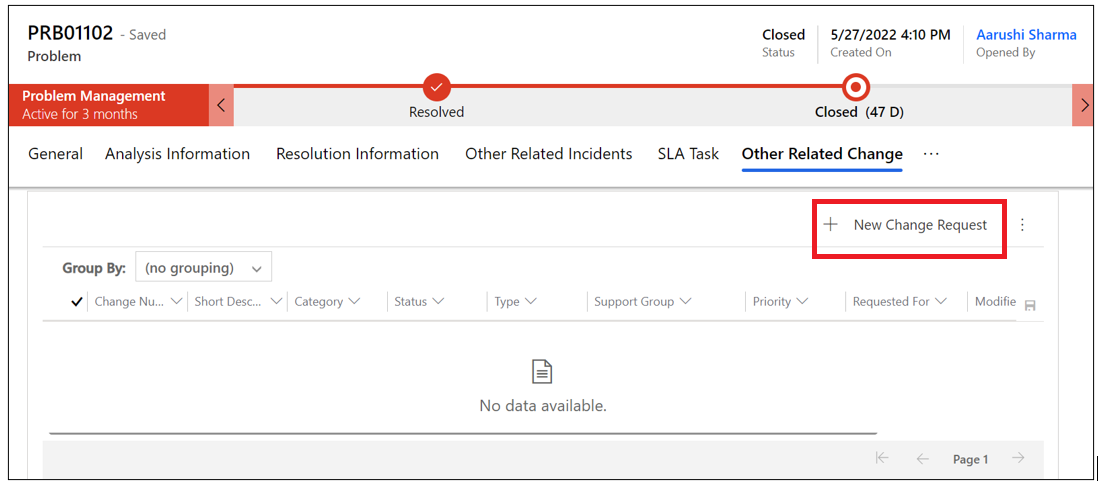
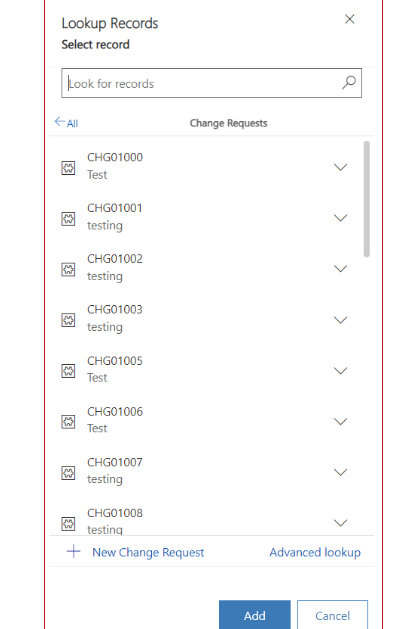
When you click "Add Existing Change Records," all existing change numbers will become visible, and you can choose and click the "Add" button to add the selected change.
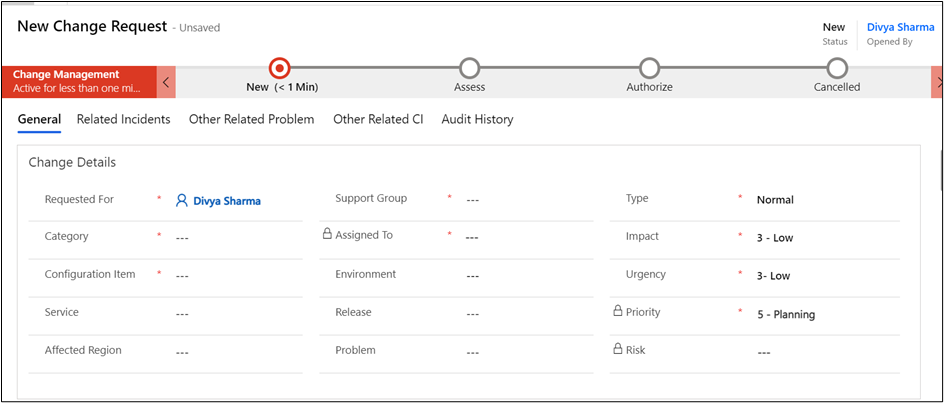
Upon clicking the "New Change Request" button, a new Change Request form opens, and all mandatory fields need to be filled. After saving the change, a list is presented in the related Changes list.
Other Related CI
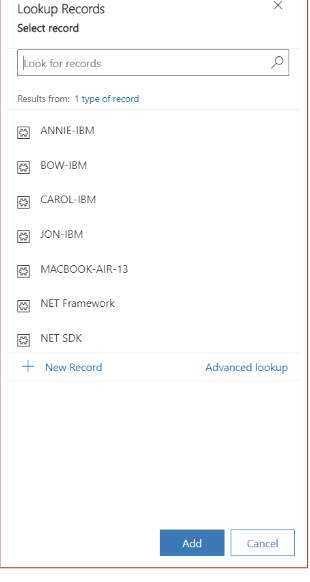
The "Other Related CI" tab allows you to add configuration items by clicking "Add Existing Configuration Items."
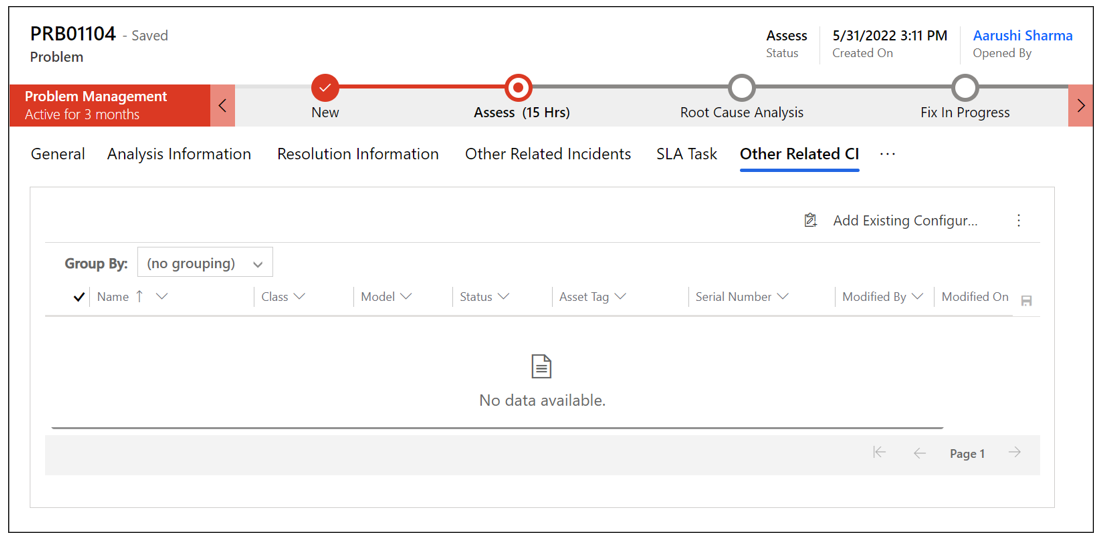
When clicking on “Add Existing Configuration Item” button, all existing Configuration Items are visible for selection. To link a Configuration Item, click on the “Add” button.
Audit History Tab
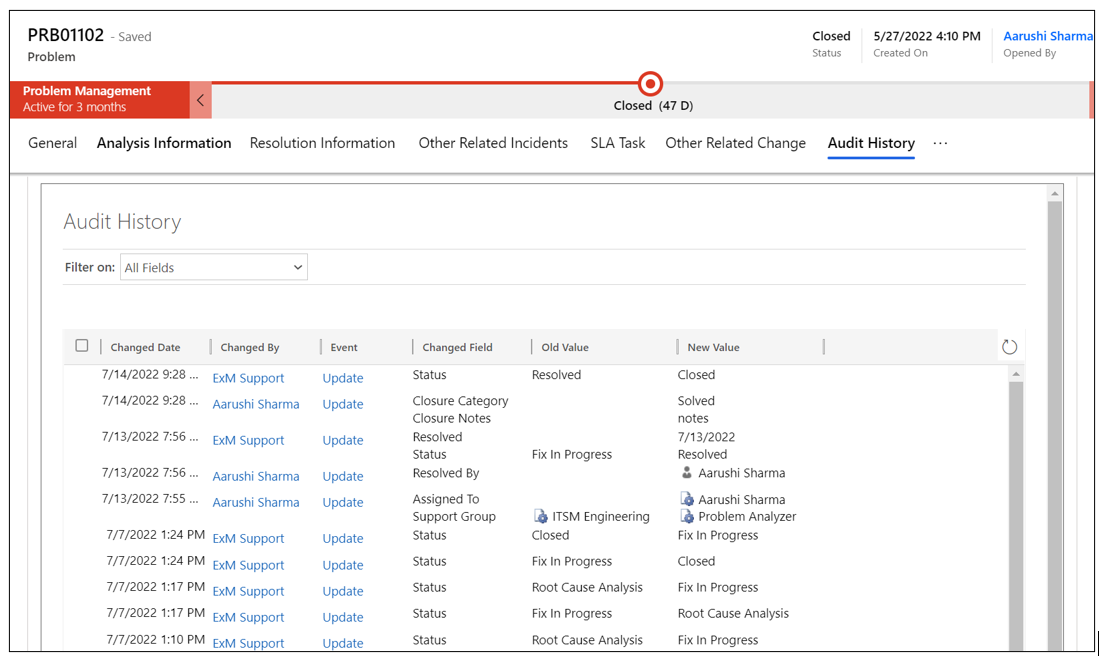
Any changes or updates made to the problem will be recorded in the audit history tab. The audit log will capture the person who made the changes, along with the timestamp and the updated fields.
The Audit History is where the system stores historical information for all records, which are meant to be preserved indefinitely for administrators to track the history of audited records. However, as the number of auditing records accumulates over time, it becomes less efficient to directly query the Audit table for historical information.