Welcome to our guide on Timesheet Management. This guide is designed to help users navigate and make the most of our Timesheet Management system. Understanding how to interact with our system is crucial for efficient and accurate time tracking. We aim to provide clear and concise instructions to help users understand and navigate our Timesheet Management system, making it easy even for first-time users.
Timesheet Management is an essential part of project management and payroll processes. Our system is a powerful tool designed to simplify and streamline time tracking. This guide will provide users with step-by-step instructions on how to interact with the system effectively. We believe that by following this guide, users will be able to effectively use the system for their time tracking needs and contribute to the overall efficiency of their respective projects.
Create Timesheet
After signing in successfully, Navigate to Timesheets.
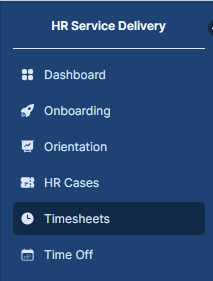
Accessing the Timesheet
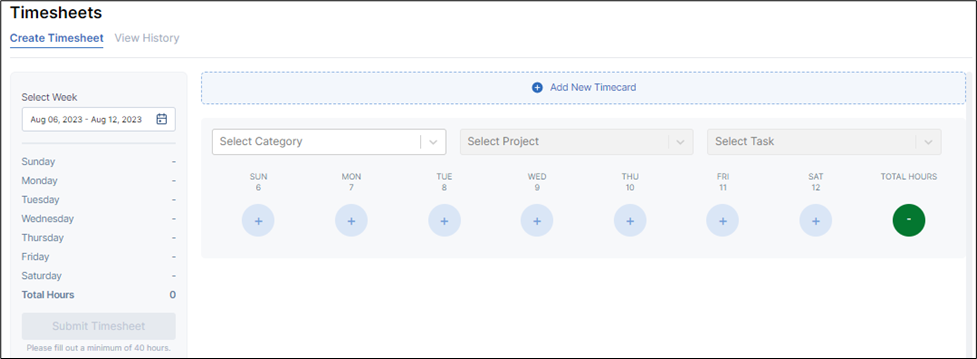
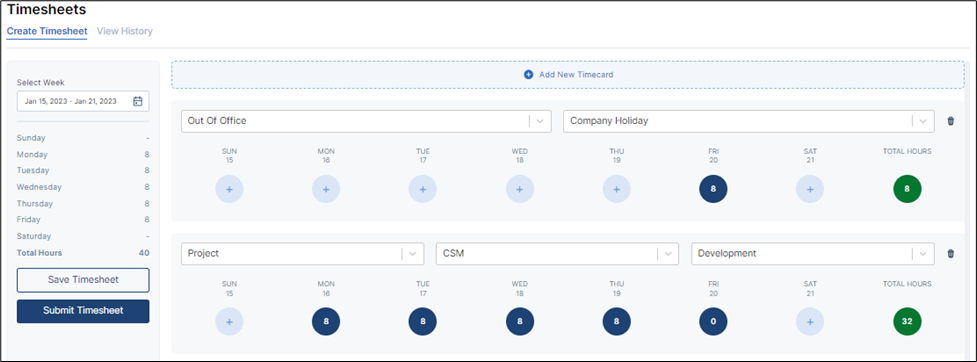
When click on the Timesheets. The form will open on the screen for the user to create an Timesheet. Select the starting date for the week you want to fill out on the timesheet.
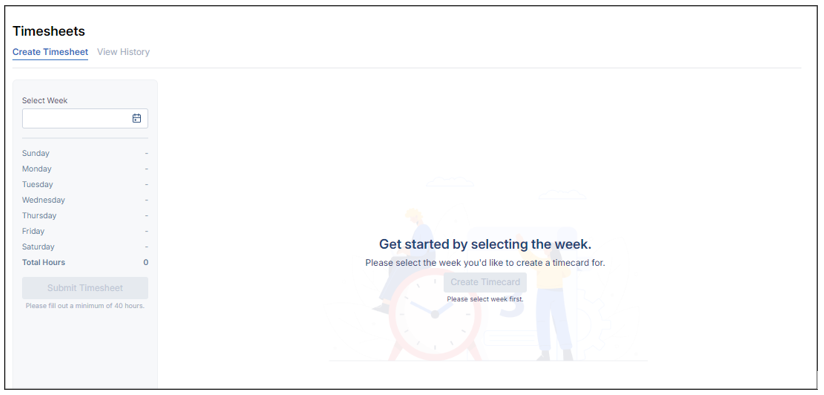
Select Week: Indicate the beginning week to facilitate timecard creation for the timesheet.
Filling the Timecard
To initiate the process of adding timecards for specific projects, begin by selecting the week's start date. Afterward, proceed to click on 'Create Timecard.
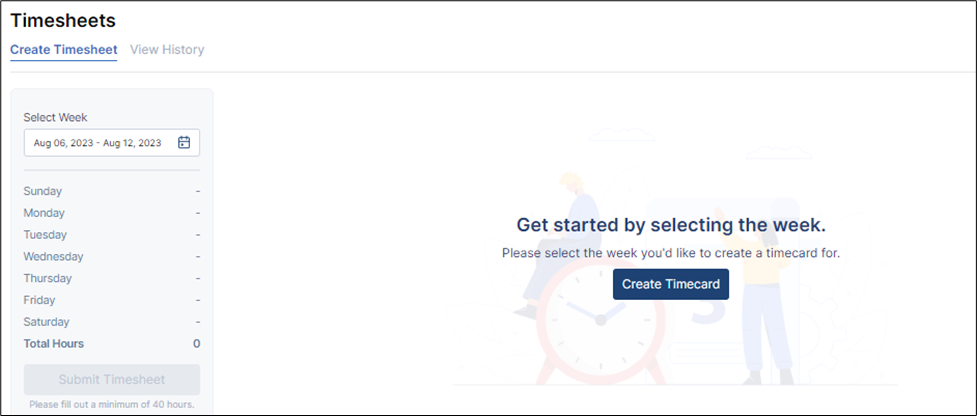
The newly created timecard will be accessible for input, allowing you to fill in the details as follows:
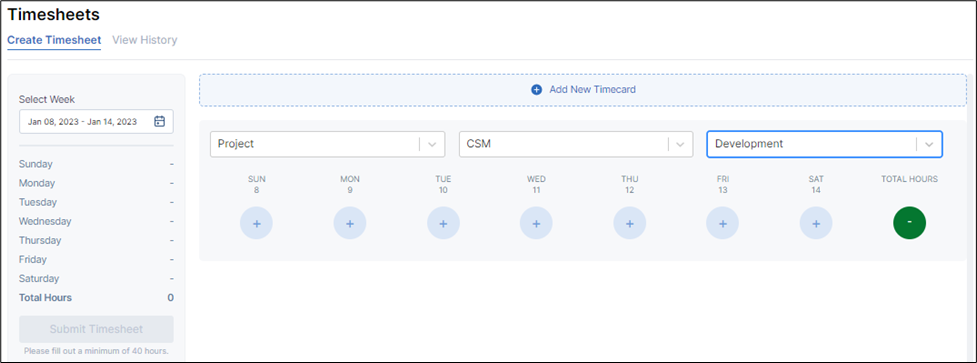
To begin filling out the timecard, choose the appropriate category (either "Project" or "Out of Office").
If the chosen category is "Project": Specify the project by choosing from the dropdown menu and then select the associated task from the menu for detailed entry.
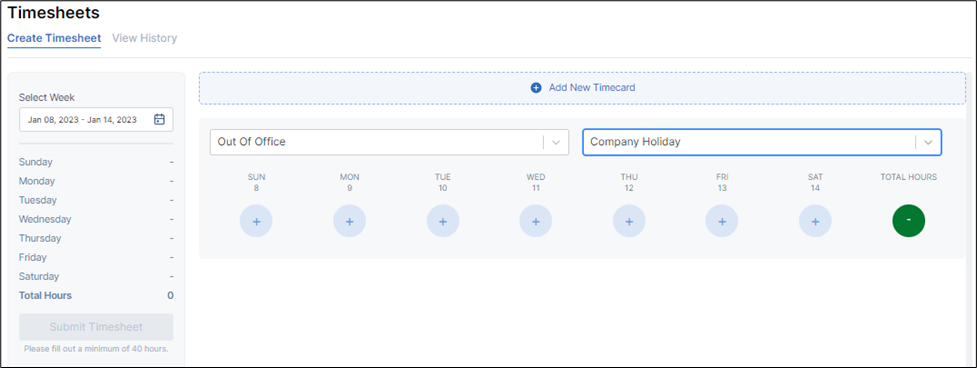
If the chosen category is "Out of Office": The 'Task' field only appears when you select 'Out of Office' as the category, enabling you to describe your 'Out of Office' activity.
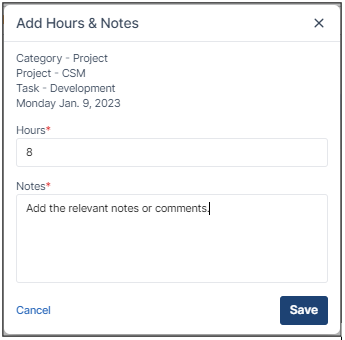
Add Hours and Notes for a Particular Day in Timecard
- For any day within the selected week, you can add specific hours and notes.
- Click on the "Plus" icon next to the day you want to add hours and notes.
- Enter the number of hours worked for that day and any relevant notes or comments. This process can be repeated for other days to add information to the Timecard.
Submit the Timesheet
- After adding hours and notes for specific days, save the entry or submit it.
- Before submitting, it's a good practice to save your work to prevent data loss.
- Click on the "Save Timesheet" button. This will store your entries temporarily.
- Review the entered timecards, including the added hours and notes, to ensure accuracy.
- If you made any errors, you can edit the timecards before final submission
- After reviewing and ensuring the accuracy of your entries, it's time to submit your timecard.
- Click on the "Submit Timesheet" button.
- On successful submission, you will receive a confirmation message. Click "OK" to proceed

- Upon submission, you will be automatically redirected to the "View History" screen, where you can access your submitted timesheets.

Notifications
- An Email notification will be sent to the user with the details and link

Microsoft Teams notification will be sent to the user with the details and link

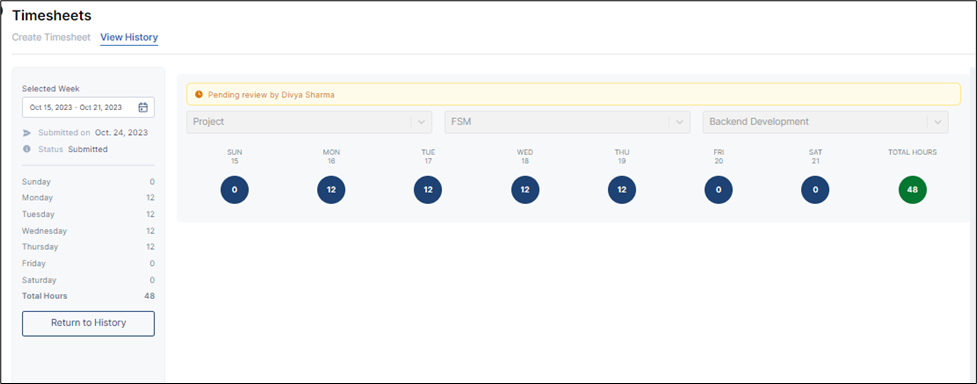
View Timesheet
The "View Requests" screen simplifies the process of tracking and managing timesheets for users. It provides transparency and allows users to monitor the status and details of their submitted requests in a user-friendly and efficient manner.
Users can view their created Timesheet Requests and its details on the View Requests screen.
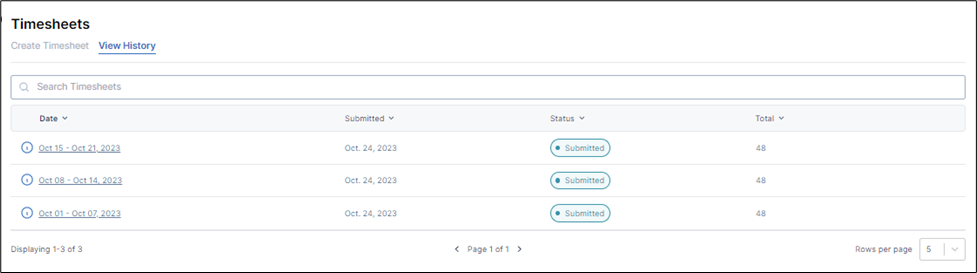
Click on the particular Timesheet Request that you want to view in more detail. This action will open a new page with detailed view.